Category: Maintenance & Repair

Protecting Masonry From Wisconsin Freeze-Thaw

The first Neenah winter I worked through taught me more about masonry than any summer ever did. A client near Doty Island had a limestone-veneer entry column that looked perfect in October and was shedding chips like a dropped dinner plate by March. Nobody hit it. Water and a Wisconsin winter did the whole thing.

Protecting Masonry From Wisconsin Freeze-Thaw
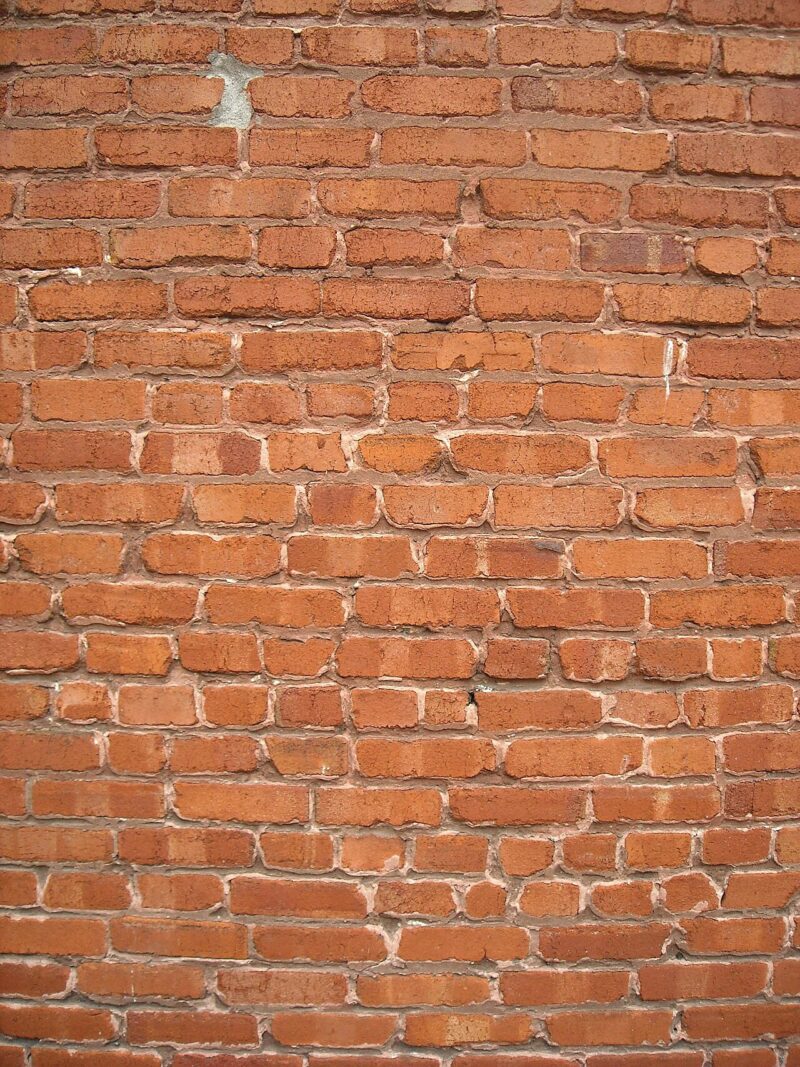
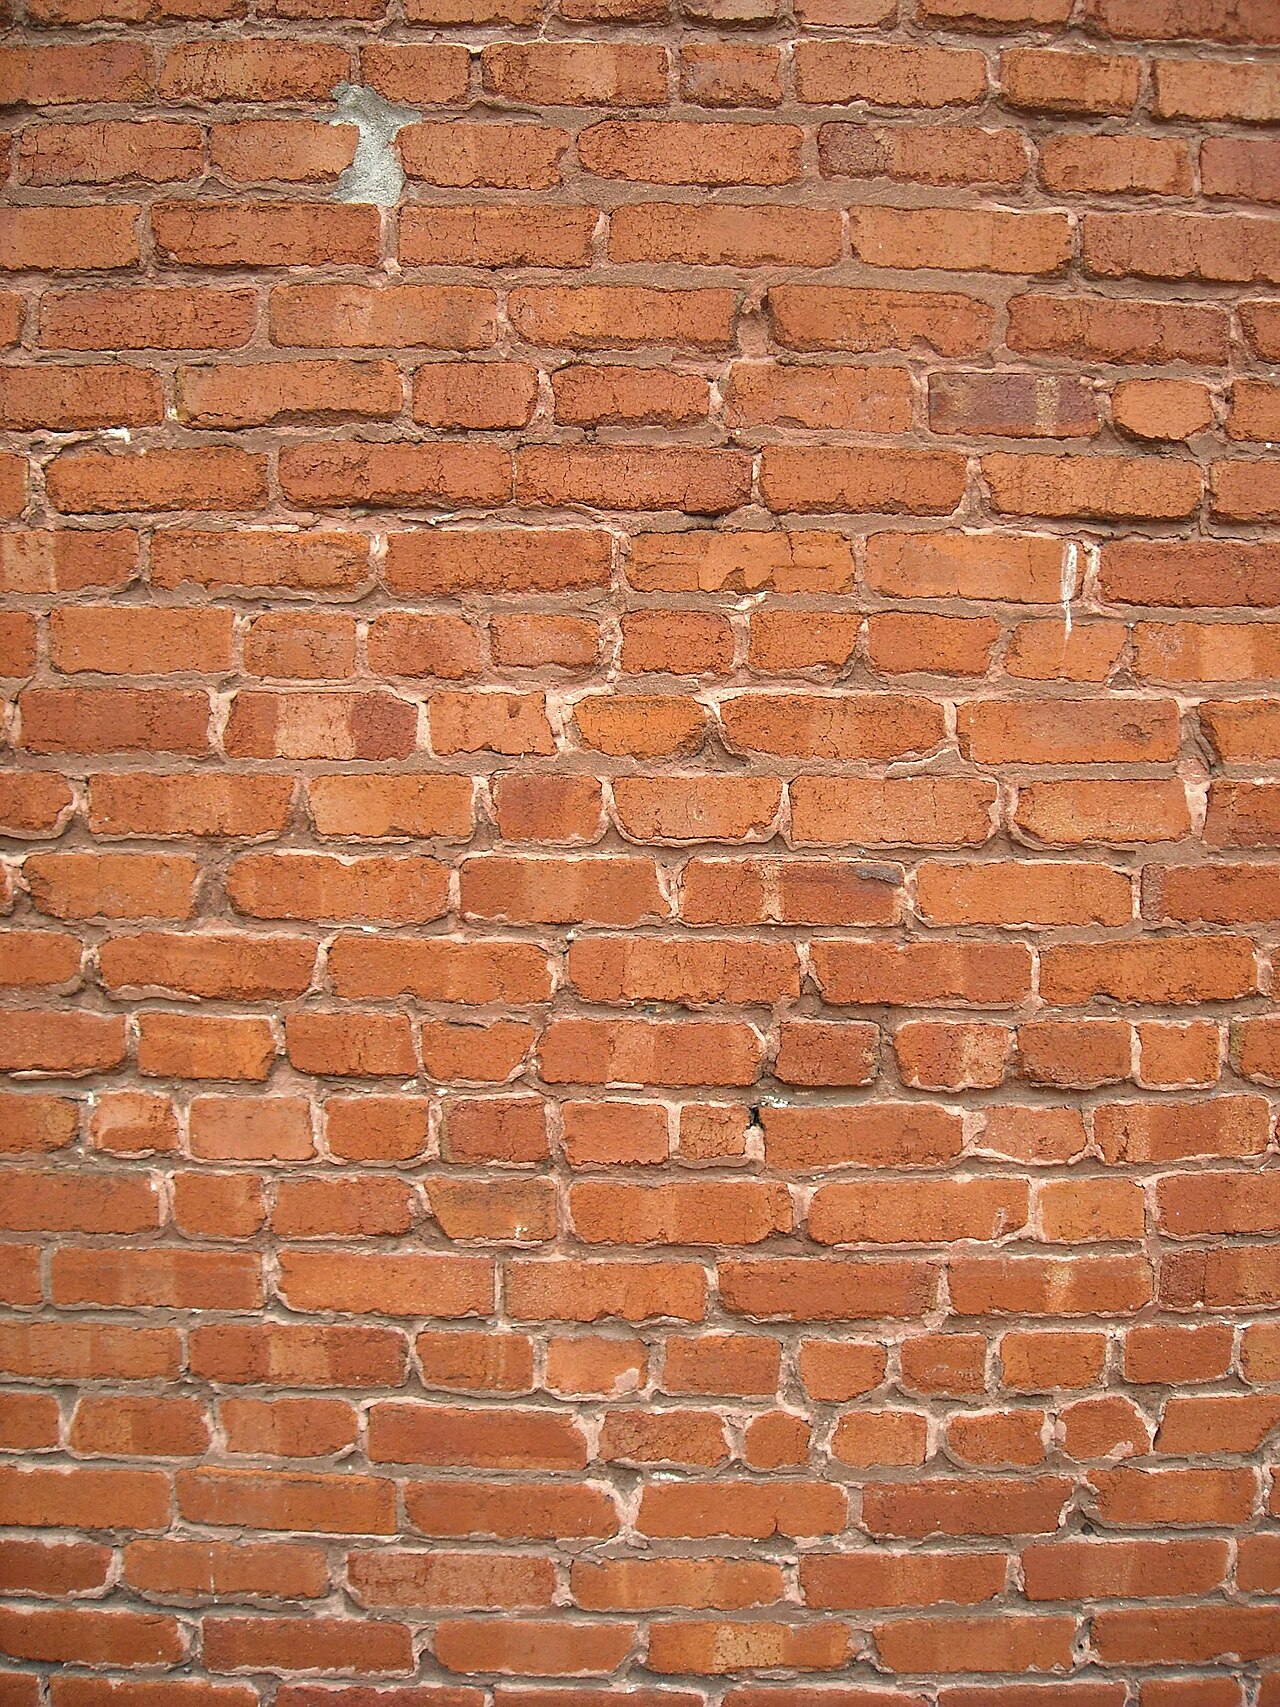
Photo: Tawhid Sadman · CC0 1.0

I build patios, retaining walls, and stone veneer around the Fox Valley, and up here freeze-thaw is the single biggest threat to any of it. We get some of the harshest freeze-thaw cycling in the country. The wall doesn’t just freeze once and thaw in spring; it swings back and forth across the freezing point dozens of times a season. Every one of those swings is a chance for masonry to fail. Here’s how I keep mine from doing it.

What freeze-thaw actually does

Water expands about nine percent when it freezes. When brick, block, or stone has soaked up water and the temperature drops, that expansion pushes from the inside out. The face of the masonry flakes off, which we call spalling, and mortar joints crumble to sand. Do that thirty or forty times a winter, year after year, and a sound-looking wall turns to gravel. If you’re already seeing flaking faces, I walk through the mechanism and the fixes in more detail in this piece on what causes brick spalling.

The key thing to understand is that freeze-thaw damage is a water problem first and a cold problem second. Dry masonry shrugs off cold. Saturated masonry destroys itself. That’s why everything I do up here comes back to keeping water out of the wall in the first place.

Where the water gets in

Drainage is close to a religion for me, and in the Fox Valley it’s the difference between a wall that lasts thirty years and one that lasts five. I cap the top of every wall and column so water can’t sit on it, flash where masonry meets the house, and keep the bottom course up off grade so it isn’t sitting in snowmelt and road-salt slush all winter. I also pitch the soil and any pavers away from the foundation. Our frost line runs deep here, so footings for anything structural need to sit below it, typically around four feet down, or the frost will heave the whole thing every winter. That’s the same reason most basements in the area are CMU block set well below grade.

Protecting masonry that’s already up

For a wall that’s already standing, the moves are straightforward: repoint failing joints before winter rather than after, replace cracked caps, and add drip edges so runoff throws clear of the face. The Brick Industry Association explains why brick sold in our climate should carry an SW (severe weathering) rating, and it’s a spec worth asking about before anyone lays a single unit. A good Appleton masonry crew will call for SW-rated brick and repoint with the right mortar as a matter of course. If you seal, use a breathable siloxane water repellent, never a film-forming sealer that traps moisture behind the face and makes spalling worse.

Why we can’t lay masonry in the cold

Mortar has to hydrate to gain strength, and fresh mortar that freezes before it cures loses that strength permanently. Most masons stop new work as temperatures approach freezing unless they set up cold-weather protection: heated enclosures, warmed materials, and insulated blankets. In practice, a lot of Fox Valley masonry work either shuts down from roughly December through March or runs under tented, heated conditions that add cost. If a contractor offers to lay a wall in January with no enclosure, that’s a red flag.

What protection costs

Repointing runs about $8 to $20 per square foot depending on access. A breathable water repellent is usually $1 to $3 per square foot. Replacing a spalled veneer section or rebuilding a small column tends to land between $1,500 and $5,000. Cold-weather protection for winter work commonly adds 10 to 25 percent to a job. As always, these are ranges to plan around, not firm quotes.

Frequently asked questions

Should I seal my brick before winter? Only with a breathable water repellent. A vapor-permeable siloxane or silane product sheds liquid water while still letting the wall dry. A glossy film-forming sealer does the opposite: it traps moisture inside and accelerates freeze-thaw spalling.

When can masonry actually be laid in Wisconsin? Comfortably once daytime temperatures hold above about 40 degrees and are rising, which usually means spring through fall here. Work below that is possible only with heated enclosures and protected, warmed materials.

Is spalling just cosmetic? No. The spalled face was the wall’s weather skin. Once it’s gone, water gets in faster, so the damage accelerates each winter. Catching it early and repointing is far cheaper than rebuilding.
Hurricane-Season Masonry Checks for the Gulf Coast

Managing property along the Gulf and Southeast coast means treating hurricane season as a fixed part of the calendar, not a surprise. Masonry is one of the most resilient things you can have when a storm hits, brick and block shrug off wind-driven debris that shreds siding, but only if it was sound going in. Every June, before the season ramps up, I walk every masonry surface on my buildings with a checklist. A small defect you ignore in spring becomes a failure point at 120 miles an hour.

Hurricane-Season Masonry Checks for the Gulf Coast
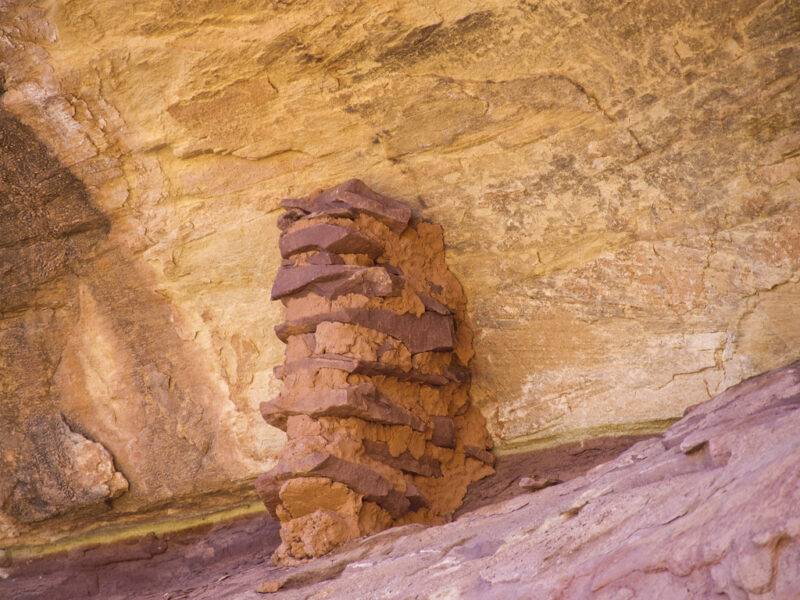
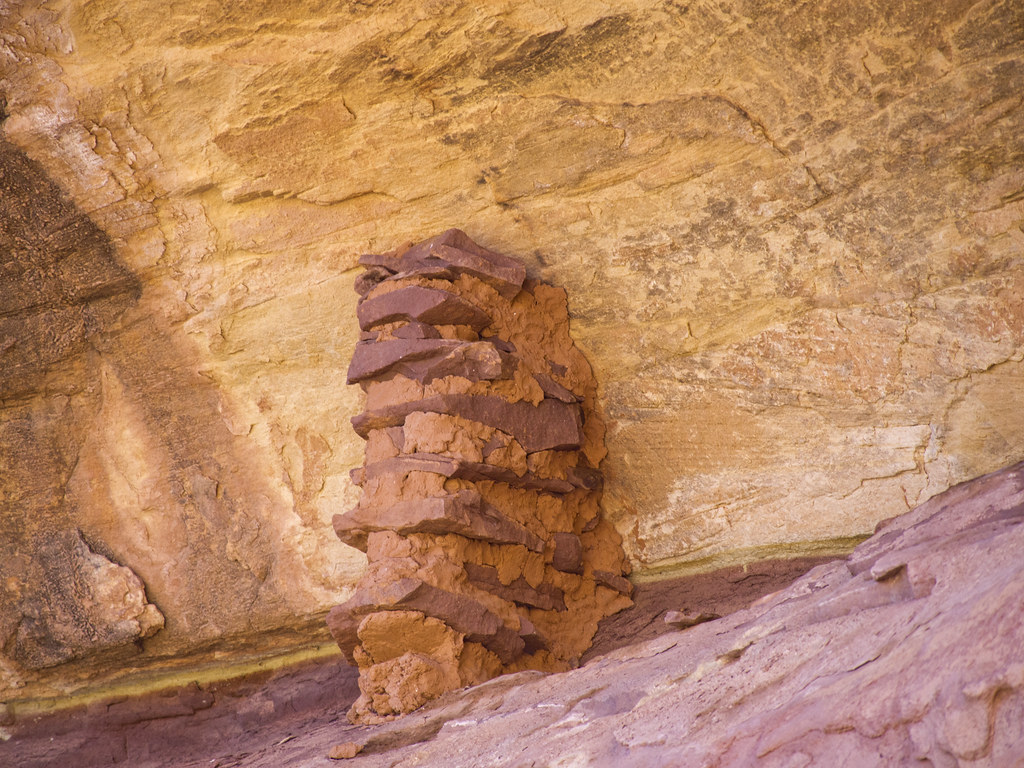
Photo: Ranger Robb · PDM 1.0

Why masonry is worth inspecting before a storm

Storm forces find weaknesses. Wind pressure, wind-driven rain, and flying debris all probe for the loose brick, the open joint, the cracked wall. A wall that is 95 percent sound can still fail at the 5 percent that was already compromised, and once wind-driven water gets into a wall, it can travel far and do damage well beyond the entry point. The point of a pre-season check is to find and close those weaknesses while it is calm.

The pre-season checklist

What I look for, every year:

  • Loose or cracked units, any brick or block that moves, or cracks wide enough to admit water, get them fixed now
  • Open or failed mortar joints, the entry point for wind-driven rain; the signs are in how to tell when mortar has failed
  • Cracks that suggest movement, especially stair-step or horizontal ones worth evaluating before a storm loads the wall
  • Chimney and parapet condition, tall elements take the most wind and are the most dangerous if they fail
  • Drainage and weep holes clear, so the wall can shed the enormous water volume a storm dumps
  • Anything loose that could become a projectile, caps, loose stone, decorative elements

Fix the water paths first

If I can only do a few things before a storm, I make sure water has somewhere to go and nowhere unintended to get in. That means clearing weep holes and drains, sealing genuinely open joints, and confirming grading and downspouts carry water away from foundations rather than toward them. Wind-driven rain is relentless during a hurricane, and a wall that cannot drain becomes a saturated, heavy, vulnerable mass.

Build and repair to code

In coastal jurisdictions, masonry repairs and new work are governed by wind-load provisions in the building code, and reinforcement details matter more here than almost anywhere. Storm preparedness and property-protection resources for homeowners are available through FEMA. Do the walk-around every spring, close the small defects before the season, and your masonry becomes the part of the building you worry about least when the forecast turns.

After the storm: what to check before you relax

The inspection does not end when the wind does. Once it is safe to go outside, walk the masonry again with fresh eyes, because storm loads can open problems that were not visible the day before. Look for new cracks, especially stair-step or horizontal ones, and for any brick or block that has shifted or loosened. Check the base of walls and the foundation for signs that water pooled or undermined the soil. Look closely at chimneys and any tall element for lean or dislodged caps. And watch the inside of exterior walls over the following days for damp patches, because wind-driven rain can push water deep into a wall where it shows up slowly rather than all at once. Photograph anything you find, both for your own records and for any insurance claim, since documenting damage promptly matters. Small issues found now, an open joint, a hairline crack, a loose cap, are cheap to close before the next system arrives; the same defects ignored become the failure point when the following storm tests the wall again.

Frequently asked questions

How should I prepare masonry for hurricane season? Inspect before the season for loose or cracked units, open mortar joints, movement cracks, and chimney or parapet issues, and fix them while it is calm. Clear weep holes and drains, confirm water drains away from foundations, and secure anything loose that could become a projectile.

Is a brick house safer in a hurricane? Masonry is generally more resistant to wind and flying debris than lighter cladding like siding, which is a real advantage in a storm. But that resilience depends on the masonry being sound, properly reinforced and free of loose units and open joints, going into the storm.

What is the biggest masonry risk during a storm? Wind-driven rain entering through open or failed mortar joints and cracks, and tall elements like chimneys or parapets failing under wind load. Both are preventable with a pre-season inspection that closes open joints and addresses any loose or cracked masonry. Tall elements are exactly what mandated facade inspections exist to catch — a NYC facade repair contractor is checking parapets and chimneys on a fixed cycle rather than after a storm warning.

How Salt and De-Icers Damage Brick and Concrete

De-icing salt is applied to the parts of a property that matter most and tolerate damage least: the steps to the front door, the walk, the garage apron. It solves a genuine safety problem, and it does so by attacking the surfaces it is spread on through two mechanisms at once, one physical and one chemical.

Two separate attacks, one product

The physical mechanism is the one people underestimate. Salt lowers the freezing point of water, which means a surface that would have frozen once overnight instead melts and refreezes several times. Each of those cycles expands water in the pore structure and prises the material apart from inside, so the number of damaging cycles per winter goes up sharply even though the winter got no colder. The chemical mechanism is separate: some de-icers react with the cement paste and with the compounds in it, degrading the binder that holds the surface together. Together they produce scaling, the loss of the top layer in flakes and sheets.

Which de-icers do what

They are not interchangeable. Sodium chloride, ordinary rock salt, is the cheapest and works to around twenty degrees, and it is hard on concrete and hard on plants. Calcium chloride works much colder and faster and is correspondingly aggressive. Magnesium chloride is often marketed as safer for concrete and is gentler on vegetation, but it is still a chloride and it still drives freeze-thaw cycling. Products containing ammonium sulphate or ammonium nitrate, sometimes sold as fertiliser-based de-icers, attack concrete directly and should not be used on it at all. Sand provides traction without melting anything and does no chemical damage, which makes it the right choice on surfaces that cannot be replaced.

The damage you cannot see, in the steel

The surface scaling is the visible half. Chlorides that penetrate concrete eventually reach the reinforcing steel and break down the passive layer that normally protects it, and the steel begins to corrode. Rust occupies substantially more volume than the metal it replaced, so it exerts pressure from inside and cracks the concrete along the line of the bar. On steps, slabs, and any structural element, this is the failure that ends the life of the concrete rather than merely marking it, and it develops silently over years.

Protecting surfaces that still have to be safe

The goal is using less product rather than none, since an icy step is a worse outcome than a scaled one. Shovel promptly and thoroughly, because snow removed early needs far less de-icer afterwards. Use sand for traction where melting is not essential. Keep water draining away from the surface so there is less to freeze. A breathable penetrating sealer on vulnerable concrete reduces absorption without trapping moisture, and it needs renewing every few years. New concrete is at its most vulnerable in its first winter and should ideally get through that one without chlorides at all.

What to do about a surface already scaling

Light surface scaling on sound concrete can be repaired with a bonded resurfacer, provided the preparation is thorough and the material is rated for freeze-thaw. That buys real years. Where the scaling is deep, where aggregate is exposed across the surface, or where cracking follows the line of reinforcement, resurfacing is cosmetic and the element needs replacing. Brick and stone scale too, and there the answer is usually replacing affected units and reviewing what is delivering salt-laden water to that spot.

Frequently asked questions

Is any de-icer genuinely safe for concrete? None is harmless. Magnesium chloride and acetate-based products are gentler than rock salt or calcium chloride, but every melting product increases freeze-thaw cycling. Sand is the only genuinely non-damaging option, and it provides traction rather than melting.

Why did my driveway scale but my neighbour’s did not? Usually air entrainment, curing, and finishing. Properly air-entrained concrete that was cured well resists this far better, and over-troweled or over-watered surfaces are weakest exactly where the salt lands.

How do I protect steps and walkways? Shovel promptly so less product is needed, prefer sand for traction, keep water draining away, and use a breathable penetrating sealer on vulnerable concrete. Above all use less, since over-application accelerates the damage you are trying to prevent. Driveways take the worst of it because they get salted first and dry last, and a Pittsburgh concrete driveway contractor will tell you the apron is where the scaling always starts.

Stopping Water in a Masonry Basement Wall

A damp basement is the most common complaint I hear from homeowners around here, and Downtown Appleton is full of older homes with block and stone foundations that were never properly waterproofed. People want to fix it with a coat of paint on the inside. I understand the appeal, it is cheap and you can do it yourself, but I have to tell them the truth: waterproofing a basement wall from the inside alone almost never solves a real water problem. You have to understand where the water is coming from first.

Stopping Water in a Masonry Basement Wall
Photo: MTA C&D – EAST SIDE ACCESS · BY 2.0

Water from outside versus condensation

Before anything else, figure out which problem you have. Tape a square of plastic sheet tightly to the wall and leave it a few days. If moisture forms on the room side of the plastic, you have condensation, humid air hitting a cool wall, and the fix is dehumidification and air sealing. If moisture forms behind the plastic, against the masonry, water is coming through the wall from outside, and that is a different, bigger job. People spend money on the wrong fix constantly because they never ran this test.

Start outside, where the water starts

For water coming through the wall, the cheapest and most effective fixes are outside the house, not in the basement:

  • Gutters and downspouts. Clean them and extend downspouts well away from the foundation. A shocking share of wet basements are just a downspout dumping against the wall.
  • Grading. The soil should slope away from the house. Flat or reverse grading sends water straight down the foundation.
  • Drainage. Chronic cases need exterior excavation, a waterproof membrane, and footing drains, the real cure, and the expensive one.

These outside fixes solve more basement moisture than any interior product, and they are worth doing first.

What interior treatments can and can’t do

Interior masonry waterproofing coatings have a place, on a wall with light seepage or as part of managing minor moisture, but they are not a cure for water under pressure. Coat a block wall that has hydrostatic water behind it and the coating eventually blisters and fails, and you have masked the problem while it keeps working on the wall. Understanding how the block itself moves moisture, which I cover in understanding concrete block (CMU) construction, explains why a surface coat is not enough on its own.

The interior systems that do work

For persistent water, the interior solution that actually performs is a drainage system, an interior perimeter drain feeding a sump pump, which manages water rather than trying to block it. It is more invasive than paint but far more reliable. General moisture-control and basement guidance for homeowners is available through the Department of Energy at Energy Saver. Budget a few hundred dollars for exterior fixes and interior coatings, versus several thousand for exterior excavation or an interior drainage-and-sump system. Spend the cheap money outside first; it often solves the problem before you touch the basement.

Do the free things before you spend a dollar

Before anyone quotes you an interior drainage system or an excavation, work through the fixes that cost nothing but time, because they solve a real share of wet basements outright. Clean the gutters so they actually carry water instead of overflowing against the wall. Add or extend downspout extensions so roof water discharges several feet from the foundation, not right beside it. Walk the perimeter after a rain and note where water pools or where the ground slopes toward the house, then build up soil to slope away. Trim back garden beds and irrigation that keep the foundation soil saturated. In a lot of the older Appleton homes I look at, a single overflowing gutter or a downspout dumping at the corner is the whole problem, and the basement dries out once it is fixed. Only after you have ruled out the free, outside causes does it make sense to spend on interior systems, because those manage water that the cheap fixes could not stop.

Frequently asked questions

Does waterproofing paint stop a wet basement? Rarely on its own. Interior coatings help with light seepage and condensation but cannot hold back water under pressure, they blister and fail. Real water intrusion is solved outside the house with gutters, grading, and drainage, or with an interior perimeter drain and sump system.

How do I tell if my basement moisture is condensation or a leak? Tape a square of plastic to the wall for a few days. Moisture on the room side means condensation (fix with dehumidification and air sealing); moisture behind the plastic against the masonry means water is coming through the wall from outside.

What is the most effective way to waterproof a basement? Start with the cheap outside fixes, clean gutters, downspout extensions, and grading soil away from the foundation, which solve many cases. For persistent water, the reliable options are exterior excavation with a membrane and footing drains, or an interior perimeter drain feeding a sump pump. On older housing stock the outside fixes often run into a shared lot line first — a Staten Island masonry contractor deals with that constraint on most row-home basements.

Is That Crack Serious? Structural vs Cosmetic

As a contractor, I get sent photos of cracks almost weekly with the same one-line message: “Is this bad?” Most of the time it is not. But cracks are the language a masonry structure uses to tell you what is happening inside it, and reading them wrong in either direction costs money, either an unnecessary foundation repair or a real problem left to grow. Here is the triage I use before I ever recommend calling an engineer.

Is That Crack Serious? Structural vs Cosmetic
Photo: Amal Kumar · CC0

The pattern matters more than the length

Homeowners fixate on how long a crack is. What actually tells the story is its shape, width, and direction. A long hairline crack can be nothing; a short wide one can be serious. Start by reading the pattern rather than reaching for a tape measure.

Cracks that usually mean cosmetic

  • Fine hairline cracks (thinner than a credit card) in stucco, mortar, or a concrete surface, often from normal curing and shrinkage
  • Vertical cracks in a poured foundation that stay thin and do not offset, commonly shrinkage from curing
  • Map or crazing patterns on a surface finish, cosmetic almost always

These are worth sealing to keep water out, but they rarely signal a structural issue on their own.

Cracks that mean call someone

  • Stair-step cracks following the mortar joints in block or brick, a classic sign of foundation movement or settlement
  • Horizontal cracks in a basement or foundation wall, often the most serious, they can mean soil or water pressure is bowing the wall inward
  • Wide cracks (roughly a quarter inch or more) or any crack where one side has shifted out of plane from the other
  • Cracks that keep growing over weeks or months, or that appear with sticking doors and windows

Stair-step cracking in particular usually ties back to what is happening in the mortar joints, which I break down in how to tell when mortar has failed.

A simple monitoring trick

If you are unsure, monitor before you panic. Mark the ends of a crack with a dated pencil line, or bridge it with a small dab of plaster, and check over a few weeks. A crack that stays put is far less urgent than one that visibly moves. This cheap step has saved more than one of my clients from a rushed, expensive repair. Building-code guidance on structural evaluation is coordinated through the International Code Council, and any crack that is widening, horizontal, or offset warrants a professional look rather than a wait-and-see.

Where the crack is matters as much as what it looks like

Two cracks that look identical can mean very different things depending on where they sit, so I always note location before I judge severity. A crack near the corner of a window or door opening is often just stress concentrating at a weak point in the wall and is frequently cosmetic. The same width crack running horizontally across the middle of a basement wall is a different animal, because that is where soil pressure peaks. Cracks that step diagonally up through the mortar joints of a block or brick wall point to differential settlement, one part of the foundation moving relative to another. Vertical cracks that are wider at the top than the bottom, or vice versa, tell you which way things are tilting. And a crack that lines up with a beam, a post, or a point load above it is worth taking seriously because something concentrated is bearing there. Read the location and orientation together with the width, and the wall usually tells you whether to seal it and move on or pick up the phone.

Frequently asked questions

Which foundation cracks are dangerous? Horizontal cracks, stair-step cracks along mortar joints, cracks wider than about a quarter inch, and any crack where the two sides have shifted out of alignment. These can indicate settlement or soil pressure and should be evaluated by a professional.

Are hairline cracks in a foundation normal? Often yes. Thin vertical cracks in poured concrete are commonly shrinkage from curing and are mostly cosmetic, though sealing them keeps water out. The concern is width, offset, horizontal orientation, and growth over time, not the mere presence of a fine crack.

How can I tell if a crack is getting worse? Mark the ends with a dated line or bridge it with a small dab of plaster and check over several weeks. A crack that stays the same is far less urgent than one that visibly widens or lengthens. Growth, especially with sticking doors or windows, means call a professional. A slab tells you the same way — an Austin garage epoxy installer will monitor a floor crack before coating over it, because a coating hides movement without stopping it.

Should You Seal Brick and Stone? The Honest Answer

Sealing masonry sounds like straightforward preventive maintenance, in the same category as painting trim. It is not, and the reason is that a masonry wall is not designed to keep water out in the way a roof is. It is designed to absorb some water and then release it. A product that interferes with the releasing half can do more damage in five years than the weather would have done in fifty.

Masonry is built to get wet and dry out again

Brick and stone are porous by nature, and the wall assembly assumes it. Water enters during driving rain and leaves by evaporation once the weather changes. Salts dissolved in that water move with it and crystallise harmlessly at the surface. Interrupt the outward path and the water still gets in, through joints, through flashing gaps, through the top of a wall, or up from the ground, but now it has to go somewhere else. It sits in the pore structure, freezes, and blows the face off the brick from behind. The failure looks like weather damage and is actually trapped moisture.

Film-formers versus penetrating repellents

The two categories behave differently and get sold in the same aisle. A film-former, typically acrylic or urethane, leaves a coating on the surface. It gives a wet look, resists staining well, and substantially reduces vapour transmission, which is what makes it risky on a wall that gets wet from behind. A penetrating repellent, usually silane or siloxane based, soaks into the surface and changes how the pore walls interact with water without closing them. Liquid water beads and runs off, water vapour still escapes. On vertical masonry, the penetrating type is almost always the right family.

Where sealing genuinely earns its cost

There are real cases. Horizontal surfaces take far more punishment than walls: steps, caps, sills, and hearths hold standing water and get salted in winter, and a breathable penetrating sealer meaningfully extends their life. Concrete exposed to de-icers benefits for the same reason. Below-grade and splash zones, where masonry is repeatedly wetted, are candidates. So is a wall in an exposed situation with a driving-rain problem that has already been diagnosed. In each of those, the sealer is addressing a specific mechanism rather than being applied as a general precaution.

Where it does damage

Sealing over an active water problem is the classic mistake: the leak is still there, and now the escape route is closed. Sealing historic soft brick with a film-former is another, because those walls have a large appetite for moisture movement and very little tolerance for having it stopped. And sealing a wall that is already saturated locks the water in on the day of application. If a wall is damp, the sequence is to find the source, fix it, let the wall dry out over a season, and only then consider treatment.

Reading a label before you buy

Three things on the container decide whether a product is suitable. Look for a stated vapour permeability or an explicit description as breathable, because a product that does not mention it usually is not. Look at the chemistry: silane and siloxane are penetrating, acrylic and urethane are film-forming. And look at the stated service life, which for penetrating repellents is commonly measured in a handful of years, not decades, so it is a recurring cost rather than a one-time fix. Test any product on an inconspicuous area first, since some darken stone permanently.

Frequently asked questions

Will sealing stop a leaking wall? No. Leaks come from failed flashing, open joints, a defective cap, or ground water, and a surface treatment addresses none of those. Sealing a leaking wall usually makes the eventual damage worse by trapping the water.

How often does a sealer need reapplying? Penetrating repellents typically need renewal every few years depending on exposure, with horizontal and south-facing surfaces first. That interval is worth knowing before starting, because a partially treated elevation weathers unevenly.

Is new brickwork worth sealing? Generally not. New brick is sound and the joints are fresh, so there is little to gain, and early sealing can trap construction moisture and produce efflorescence. Let the wall go through a full year of weather first.

How to Clean Brick Safely Without Wrecking the Joints

Cleaning brick looks like the least risky thing you can do to a wall, which is exactly why so much brick gets damaged doing it. The brick face is hard. The mortar between it is deliberately softer, and on an older wall it is much softer. Every cleaning decision is really a decision about what that mortar can survive.

The mortar is the soft part, and that is the whole problem

A masonry wall is designed so that the joints are the sacrificial element. They take up movement, and when something has to give, they are meant to go first because repointing a joint is far cheaper than replacing a spalled brick. That design intent works against you during cleaning: pressure that a modern brick face shrugs off will erode a lime joint noticeably in a single pass, and once the joint is scoured back the wall starts taking water where it never did before. Damage from cleaning shows up as a leak the following winter, not on the day.

Start with the mildest thing that works

The sequence that avoids nearly all of the trouble is dull: water, time, and a soft brush first. Soaking the wall and letting the dirt release before touching it does most of the work on ordinary soiling. Move up only if that fails, to a mild detergent, then to a proprietary masonry cleaner chosen for the specific stain. Test everything on a small area out of sight and give it a week before judging, because some cleaners look fine wet and leave a bloom once the wall dries.

Identify the stain before you buy a chemical

Different stains have opposite fixes, and using the wrong product often sets the stain permanently. White powdery deposits are usually efflorescence, salt carried out by water, and they respond to dry brushing plus fixing whatever is letting the water in. Green or black film is biological growth and wants a biocide with dwell time, not scrubbing. Orange-brown streaks are usually iron, which acid will make worse rather than better. Paint and coatings need a poultice or a stripper made for masonry. Guessing here is what turns a dirty wall into a stained one.

Where a pressure washer goes wrong

The tool is not the problem, the settings are. A narrow tip held close concentrates enough energy to erode mortar, drive water deep into the wall, and take the fired skin off the brick face, and that skin is the part that resists weather. Once it is gone the brick starts absorbing water and spalling. If a washer is used at all, it should be a wide fan at low pressure, kept moving, held well back, and never aimed straight into a joint. On a wall with open or eroded joints, forcing water in also means forcing it out somewhere inside. A useful discipline is to set the machine at the lowest pressure that achieves anything and then never increase it, because the temptation to turn it up arrives exactly when the wall is at its most vulnerable. If low pressure is not working, the answer is a different cleaner and more dwell time, not more force.

Older brick needs a different rulebook

Hand-made brick from the nineteenth century and earlier is softer, more porous, and far less tolerant than anything produced today, and the lime mortar around it dissolves in acid. On those walls, acidic cleaners, abrasive blasting, and pressure washing are all capable of causing damage that cannot be undone, and blasting in particular removes the fire skin permanently. Where a property sits in a historic district, cleaning method may be regulated as well. The conservative approach on old brick is water, patience, and accepting that some staining is age rather than dirt.

Frequently asked questions

Is acid safe on brick? Only in specific circumstances, diluted, on pre-wet masonry, with a thorough rinse, and never on lime mortar or old brick. Acid attacks the cement matrix and can leave a permanent bloom or discoloration. On anything historic, treat it as unsuitable.

Does the wall need wetting first? Yes, for any chemical cleaning. Saturating the masonry keeps the cleaner in the surface where the dirt is rather than letting it soak deep into dry brick, and it makes rinsing far more effective.

Should cleaning happen before or after repointing? After. Cleaning a wall with open joints drives water into the core, and new pointing will be marked by whatever cleaning follows it. Repoint first, let the mortar cure, then clean gently.

Monsoon Damage to Desert Masonry: Prevention and Repair

Newcomers to Tucson think the desert is hard on masonry because of the heat. The heat is steady and manageable. It is the monsoon, those violent summer storms that dump a month of rain in an afternoon, that does the real damage, especially to the historic adobe and old masonry in neighborhoods like Barrio Viejo. Nine or ten months of bone-dry conditions followed by sudden torrential water is a brutal cycle, and masonry that is not detailed for it takes a beating every summer.

Monsoon Damage to Desert Masonry: Prevention and Repair
Photo: Georges Grondin · PDM

Why the monsoon is so hard on desert masonry

The problem is the whiplash. Adobe, burnt adobe, and older masonry sit dry for most of the year, then get saturated fast during monsoon season. Materials that have been baking suddenly absorb water they cannot shed quickly, and a few things go wrong at once:

  • Erosion, heavy runoff physically washes at unprotected adobe and soft mortar
  • Saturation and slumping, traditional earthen masonry loses strength when it gets truly wet
  • Basal erosion, water splashing and pooling at the base of a wall eats it from the bottom up
  • Rapid drying afterward, which can crack material that swelled while wet

Prevention: keep the water off and moving

Protecting desert masonry is mostly about water management, the same principle as anywhere, just concentrated into a few intense storms:

  • Roof overhangs and good drainage to throw water clear of walls, the traditional desert architecture did this for a reason
  • Grading away from the base so storm runoff does not pool against walls and cause basal erosion
  • Sound protective finishes on adobe, maintained lime plaster or appropriate coatings, kept in repair before the season
  • Clear drainage paths and scuppers so roofs and courtyards shed the sudden volume

Choosing materials that tolerate the wet-dry swing in the first place is half the battle, which I get into in choosing stone that handles extreme desert heat.

Repairing monsoon damage

After the season, inspect for eroded mortar, softened or slumped adobe, cracks from the wet-dry cycle, and damage at the base of walls. Repairs to traditional earthen masonry are specialized, matching original materials matters as much as it does on any historic wall, and lime-based, breathable finishes are the norm rather than hard modern coatings that trap moisture. The City of Tucson provides guidance on historic properties and permitting through the City of Tucson. Timing also matters: do masonry repairs in the dry season so the work can cure properly, not in the middle of monsoon humidity, the curing principle I cover in how weather affects a masonry pour.

Why the desert’s dry months set up the damage

The counterintuitive part of monsoon damage is that a lot of it is set up during the dry season, months before the first storm. Through the long arid stretch, adobe and older mortar dry out and shrink, and fine cracks open in protective plasters and coatings, cracks you would never notice because there is no water to reveal them. Then the first monsoon downpour arrives and drives water straight into those openings, where it does far more harm than it would to a wall that had been kept intact. This is why the smartest desert maintenance happens in late spring, before the season: walk the walls, look for hairline cracks in the plaster and eroded spots in the mortar, and close them while everything is dry and repairs can cure properly in the heat. Clear the roof drains and scuppers too, since they have sat unused and full of dust and debris. A couple of hours of pre-season patching keeps the July storms out of the wall, whereas the same cracks left open turn one bad afternoon into a repair bill. In the desert, you prepare for the wet season during the dry one.

Frequently asked questions

Why does monsoon rain damage desert masonry so badly? Because of the wet-dry whiplash. Adobe and older masonry stay bone-dry for most of the year, then saturate fast during intense storms, causing erosion, loss of strength, and basal erosion at the base of walls. Materials not detailed to shed that sudden water take damage every season.

How do I protect adobe and desert masonry from monsoon storms? Manage the water: roof overhangs and drainage that throw water clear of walls, grading that keeps runoff from pooling at the base, and sound, maintained breathable finishes on adobe. Clear drainage paths before the season so roofs and courtyards can shed the sudden volume.

When should I repair monsoon damage to masonry? In the dry season, so repairs can cure properly rather than in monsoon humidity. Inspect after the season for eroded mortar, softened adobe, and base damage, and use matched, breathable lime-based materials on traditional earthen masonry rather than hard modern coatings.