What Drives Masonry Costs in Washington DC

People in Georgetown are often shocked by their first masonry estimate. A homeowner on P Street once told me the number I gave for repointing her back wall was more than her cousin paid for a whole chimney out in Ohio. She wasn’t wrong. DC masonry costs more, and after years of doing stone and hardscape work in this city, I can tell you exactly where the money goes.
What Drives Masonry Costs in Washington DC
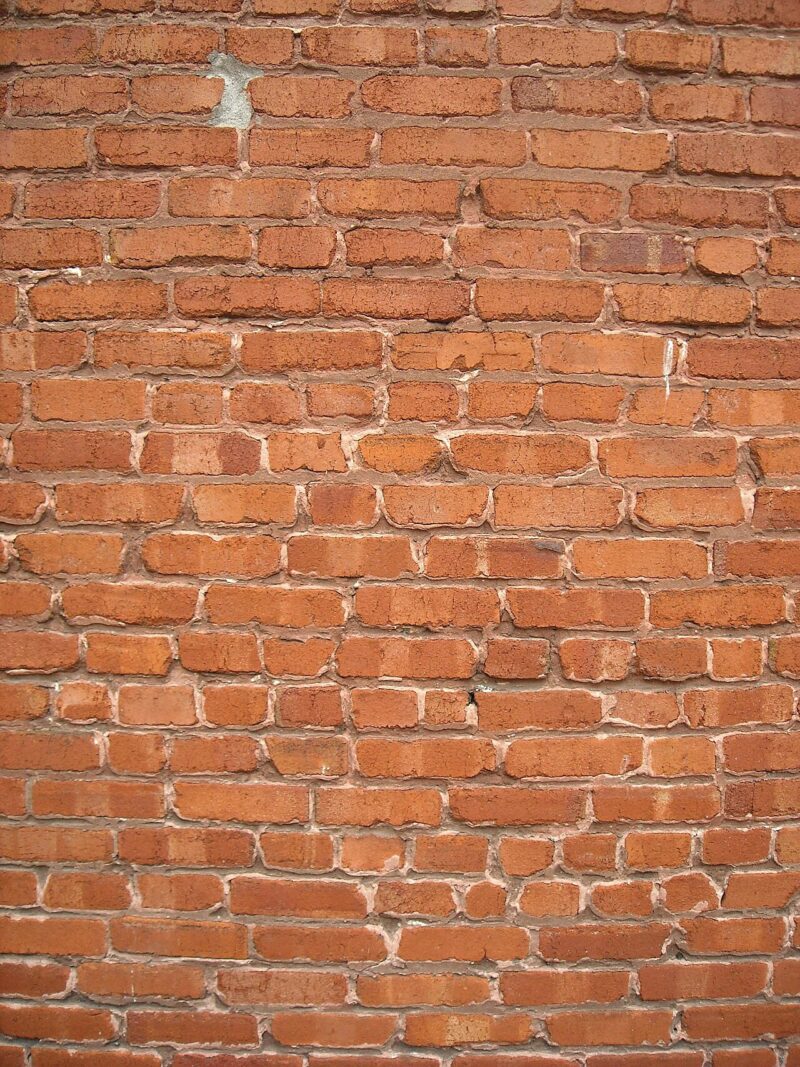
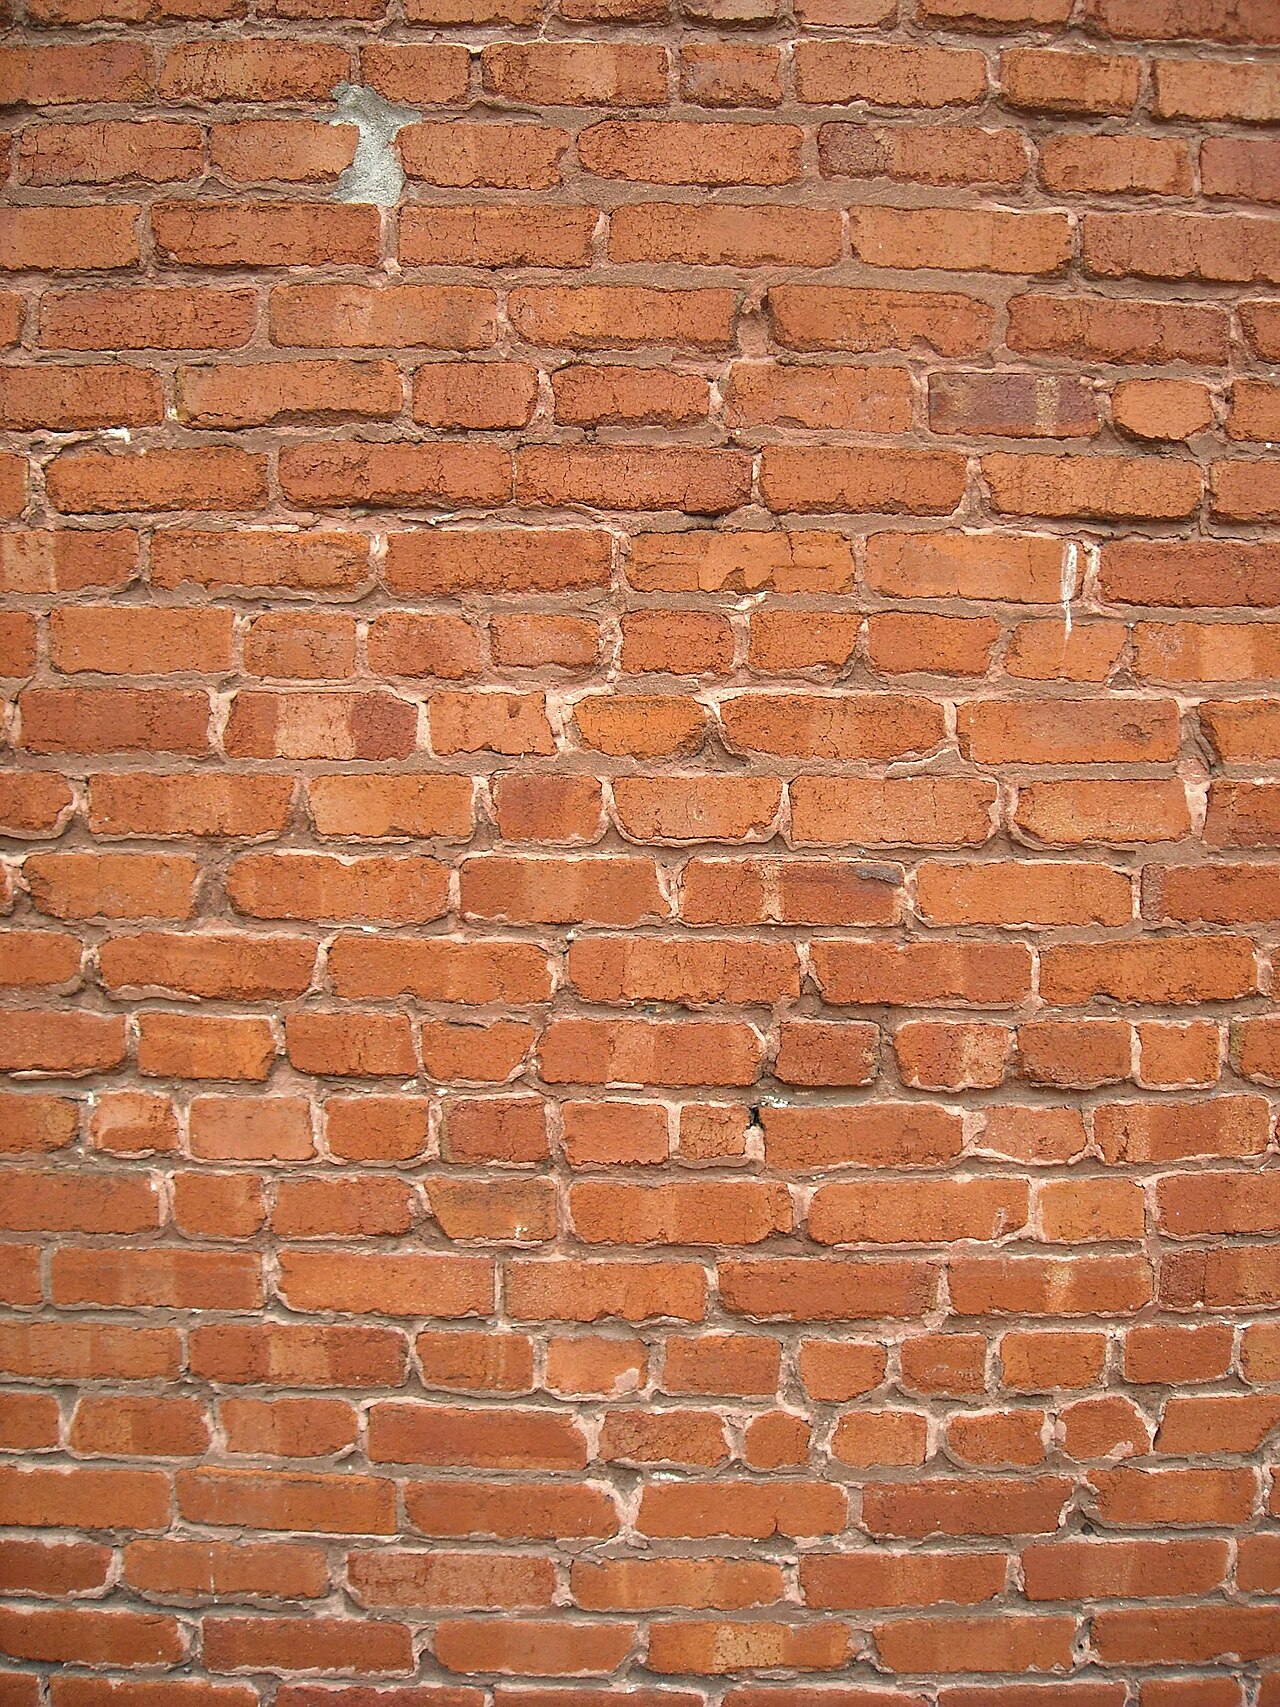
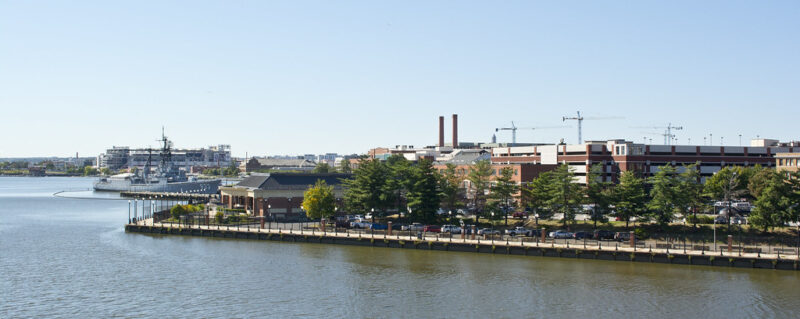
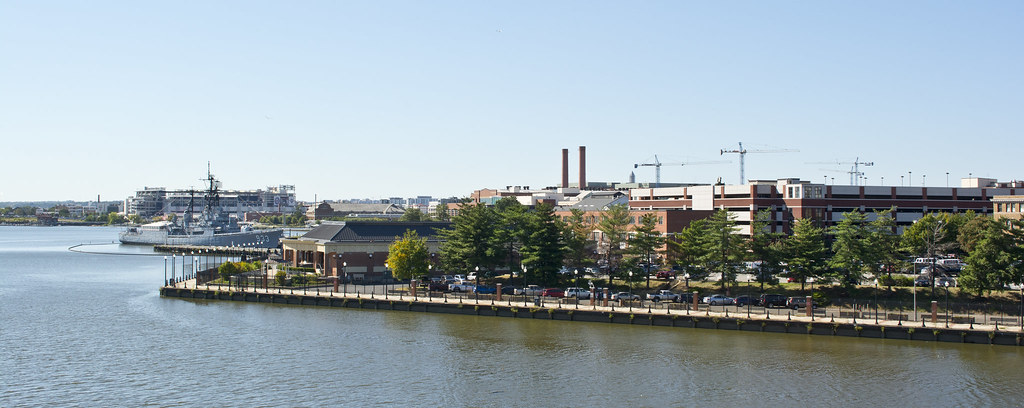
Photo: Tim Evanson · BY-SA 2.0

I build patios, garden walls, and stone veneer, so I’m usually the one carrying material through somebody’s narrow rowhouse to a courtyard the size of a parking space. That experience is half of why DC pricing looks the way it does. The other half is the rules. Let me break down the real cost drivers so the estimate makes sense instead of just stinging.

Historic review is the first line item nobody expects

Most of Georgetown sits inside a federal historic district, which means exterior masonry changes get reviewed before they happen. Repointing, replacing brick, rebuilding a stoop, even changing mortar color can trigger a look from the Old Georgetown Board, and permits still run through the city’s building department. The DC Department of Buildings lays out what needs a permit, and the historic review adds both fees and weeks to the calendar. That time is real money: the crew, the staging, and the scheduling all bend around an approval you can’t rush.

Access, party walls, and the city itself

A Georgetown rowhouse rarely has a side yard, so we’re not backing a truck up to the wall. Material gets carried through the house or craned over the roof, debris gets hauled back out the same way, and we’re often buying parking permits to stage in the street. Add tight alleys and coordination with the neighbors on shared party walls, and a job that would take three days in a suburban backyard takes a week here. Labor in the DC market is priced accordingly, and skilled masons who work on historic brick are not cheap or plentiful.

The right materials cost more than the wrong ones

Georgetown’s older brick is soft and was laid in lime mortar. You cannot repoint it with modern high-Portland mortar, because that mortar is harder than the brick and will spall the faces off as the wall expands and contracts through our freeze-thaw cycles. Doing it correctly means color-matched, lime-based mortar and sometimes salvaged brick to match the originals, both of which cost more than the bag mix at the big-box store. That’s why I always tell people to price the job with a DC mason who works on historic rowhouses, not a general contractor guessing at it. When you read the bid, it also helps to understand how a masonry estimate breaks down line by line so you can see what you’re actually paying for.

Ballpark numbers for DC

Hand-repointing historic brick in the District commonly runs $12 to $30 per square foot, well above the national average, mostly because of access and the mortar work. A full chimney rebuild lands around $4,000 to $12,000. A stoop repair or partial rebuild is often $1,500 to $6,000. Permit and historic-review fees are on top, and the review timeline can add a month or more. These are planning ranges; the specific wall, the access, and the approval path move the final number more than anything on a spec sheet.

Where you should not cut costs

The tempting savings, skipping the permit, using hard mortar, hiring the cheapest crew, are exactly the ones that cost the most later. Hard mortar on soft brick can ruin a facade in a decade. Unpermitted historic work can force a tear-out. I’d rather see someone phase the project over two seasons than do the whole thing wrong once.

Frequently asked questions

Why is DC masonry more expensive than the suburbs? Three reasons stack up: historic review adds time and fees, rowhouse access makes every task slower, and soft historic brick requires more expensive lime-based mortar and skilled labor. Together they can push a DC job well above a comparable suburban one.

Do I really need a permit to repoint my own wall? In a historic district like Georgetown, exterior masonry work usually does require a permit and historic review, even for repointing. Check with the DC Department of Buildings before you start; unpermitted work can be ordered undone.

Can I lower the cost by using regular mortar? No, and please don’t. Modern Portland-heavy mortar is harder than old brick and will spall the faces over a few freeze-thaw seasons. The correct lime-based mortar costs a little more up front and saves the wall.
Masonry Foundation Repair on Georgia Red Clay

Last spring a homeowner off Marietta’s Whitlock Avenue walked me around back to show me a stepped crack climbing the corner of her brick ranch, right where the patio met the foundation. She’d called me about the patio. What she actually had was a soil problem, and the patio was just the part she could see.

Masonry Foundation Repair on Georgia Red Clay
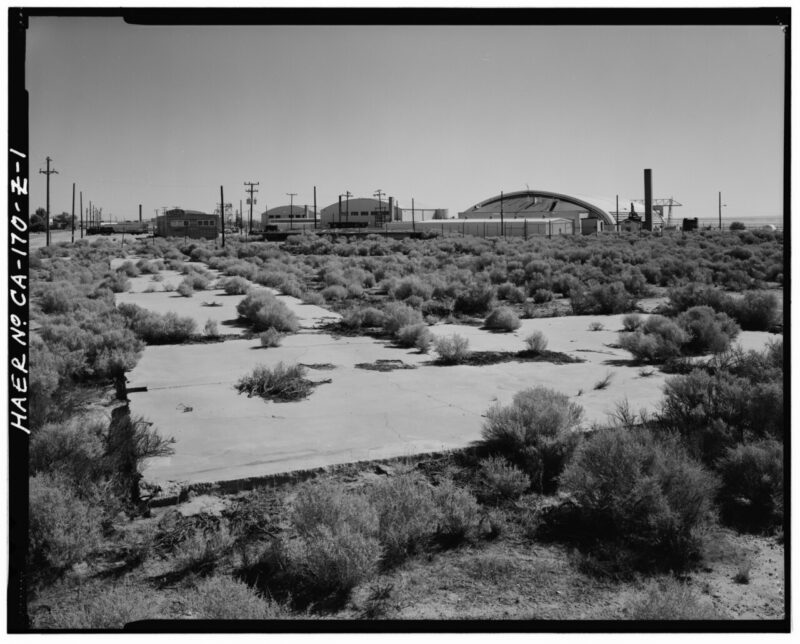
Photo: Grogan, Brian · PDM

I build patios, stone veneer, and retaining walls for a living, so I’m not the guy who underpins a house. But around the Atlanta metro I end up diagnosing foundation trouble almost every week, because the same Georgia red clay that cracks foundations also heaves my hardscapes. If you own a masonry home on this soil, it pays to understand what you’re up against.

Why Georgia red clay is so hard on masonry

The red clay under Marietta, Kennesaw, and most of Cobb County is expansive. It swells when it soaks up our summer downpours and shrinks tight through a dry stretch in August. That shrink-swell cycle lifts and drops everything sitting on it: footings, slabs, brick piers, and yes, my patios. Over a few seasons the movement opens stepped cracks in mortar joints, tips veneer away from the framing, and pulls stoops loose from the wall.

Our humidity piles on. Brick and block stay damp longer here than in a dry climate, so water wicks through the wall and leaves white efflorescence and green biological staining. We also get just enough winter freeze-thaw to pop the face off already-saturated brick. None of that is the root cause, but it tells you the wall is holding water it shouldn’t.

Telling a structural crack from a cosmetic one

Not every crack means a failing foundation. Hairline cracks in a mortar joint, or a thin vertical line where an addition meets the original house, are usually cosmetic. I start worrying when I see stepped cracks wider than about a quarter inch, brick that’s bowing or shearing along a joint, doors and windows that suddenly stick, or a gap opening between the foundation and my hardscape. If you want to walk through the difference before you panic, I put together a plain-language guide on telling structural cracks from cosmetic ones.

How the repair actually works

On expansive clay, the real fix is almost always two jobs: stabilize the foundation and control the water that’s driving the clay’s movement. For the structural side, a crew will typically drive steel push piers or helical piers down past the active clay to stable soil, then lift and lock the footing. The National Concrete Masonry Association publishes design and durability guidance for concrete masonry foundation walls, and it’s worth understanding how a wall is supposed to be built before you sign off on repairing one. If the cracking is structural, that’s when I bring in an Atlanta masonry company that handles piering and wall rebuilds, because that work needs an engineer’s numbers behind it, not a hardscaper’s eye.

My half of the problem is drainage, and honestly it’s the half most people skip. I regrade so the soil falls at least six inches over the first ten feet away from the wall, extend downspouts well past the foundation, and where the lot traps water I add a French drain tied out to daylight. Keeping the clay at a steady moisture level does more to stop the next crack than any single pier.

What foundation repair costs around Marietta

A single push pier commonly runs $1,200 to $2,500 installed, and most homes that need piering need several, so a typical stabilization project lands somewhere between $8,000 and $25,000. Injecting or repointing a cracked mortar joint is far cheaper, often $500 to $1,500. Drainage corrections such as regrading, downspout extensions, and a French drain usually run $1,500 to $6,000 depending on how much dirt we move. These are defensible ballparks, not quotes; the soil report and the depth to stable ground swing the number more than anything else.

Frequently asked questions

Does red clay always mean I’ll get foundation problems? No. Plenty of Marietta homes sit for decades without trouble. Problems show up when water is allowed to swing the clay’s moisture up and down right at the foundation, usually from bad grading, clogged gutters, or a downspout dumping at the corner. Manage the water and you manage most of the risk.

Can I just patch the crack myself? You can seal a cosmetic hairline crack with a flexible masonry sealant, and that’s fine. But sealing a crack that’s still moving only hides it. If the crack is growing, stepped, or wider than a quarter inch, get it looked at before you cover it up.

How long does the repair take? Most pier-and-lift jobs on a typical home take two to four days, with drainage work adding another day or two. The bigger delay is usually the engineering and permitting up front, which can add a couple of weeks before anyone breaks ground.

Monsoon Damage to Desert Masonry: Prevention and Repair

Newcomers to Tucson think the desert is hard on masonry because of the heat. The heat is steady and manageable. It is the monsoon, those violent summer storms that dump a month of rain in an afternoon, that does the real damage, especially to the historic adobe and old masonry in neighborhoods like Barrio Viejo. Nine or ten months of bone-dry conditions followed by sudden torrential water is a brutal cycle, and masonry that is not detailed for it takes a beating every summer.

Monsoon Damage to Desert Masonry: Prevention and Repair
Photo: Georges Grondin · PDM

Why the monsoon is so hard on desert masonry

The problem is the whiplash. Adobe, burnt adobe, and older masonry sit dry for most of the year, then get saturated fast during monsoon season. Materials that have been baking suddenly absorb water they cannot shed quickly, and a few things go wrong at once:

  • Erosion, heavy runoff physically washes at unprotected adobe and soft mortar
  • Saturation and slumping, traditional earthen masonry loses strength when it gets truly wet
  • Basal erosion, water splashing and pooling at the base of a wall eats it from the bottom up
  • Rapid drying afterward, which can crack material that swelled while wet

Prevention: keep the water off and moving

Protecting desert masonry is mostly about water management, the same principle as anywhere, just concentrated into a few intense storms:

  • Roof overhangs and good drainage to throw water clear of walls, the traditional desert architecture did this for a reason
  • Grading away from the base so storm runoff does not pool against walls and cause basal erosion
  • Sound protective finishes on adobe, maintained lime plaster or appropriate coatings, kept in repair before the season
  • Clear drainage paths and scuppers so roofs and courtyards shed the sudden volume

Choosing materials that tolerate the wet-dry swing in the first place is half the battle, which I get into in choosing stone that handles extreme desert heat.

Repairing monsoon damage

After the season, inspect for eroded mortar, softened or slumped adobe, cracks from the wet-dry cycle, and damage at the base of walls. Repairs to traditional earthen masonry are specialized, matching original materials matters as much as it does on any historic wall, and lime-based, breathable finishes are the norm rather than hard modern coatings that trap moisture. The City of Tucson provides guidance on historic properties and permitting through the City of Tucson. Timing also matters: do masonry repairs in the dry season so the work can cure properly, not in the middle of monsoon humidity, the curing principle I cover in how weather affects a masonry pour.

Why the desert’s dry months set up the damage

The counterintuitive part of monsoon damage is that a lot of it is set up during the dry season, months before the first storm. Through the long arid stretch, adobe and older mortar dry out and shrink, and fine cracks open in protective plasters and coatings, cracks you would never notice because there is no water to reveal them. Then the first monsoon downpour arrives and drives water straight into those openings, where it does far more harm than it would to a wall that had been kept intact. This is why the smartest desert maintenance happens in late spring, before the season: walk the walls, look for hairline cracks in the plaster and eroded spots in the mortar, and close them while everything is dry and repairs can cure properly in the heat. Clear the roof drains and scuppers too, since they have sat unused and full of dust and debris. A couple of hours of pre-season patching keeps the July storms out of the wall, whereas the same cracks left open turn one bad afternoon into a repair bill. In the desert, you prepare for the wet season during the dry one.

Frequently asked questions

Why does monsoon rain damage desert masonry so badly? Because of the wet-dry whiplash. Adobe and older masonry stay bone-dry for most of the year, then saturate fast during intense storms, causing erosion, loss of strength, and basal erosion at the base of walls. Materials not detailed to shed that sudden water take damage every season.

How do I protect adobe and desert masonry from monsoon storms? Manage the water: roof overhangs and drainage that throw water clear of walls, grading that keeps runoff from pooling at the base, and sound, maintained breathable finishes on adobe. Clear drainage paths before the season so roofs and courtyards can shed the sudden volume.

When should I repair monsoon damage to masonry? In the dry season, so repairs can cure properly rather than in monsoon humidity. Inspect after the season for eroded mortar, softened adobe, and base damage, and use matched, breathable lime-based materials on traditional earthen masonry rather than hard modern coatings.

Brick Spalling: Causes and What to Do About It

Spalling is the word for brick that is flaking, chipping, or popping its face off, and on the older rowhouses I manage around Petworth in DC, it is the damage I take most seriously. Not because a little surface flaking is a crisis, but because spalling is almost always a symptom of a moisture problem that will keep working until you find it. Treat the flaking and ignore the cause and you will be treating it again every couple of years.

Brick Spalling: Causes and What to Do About It
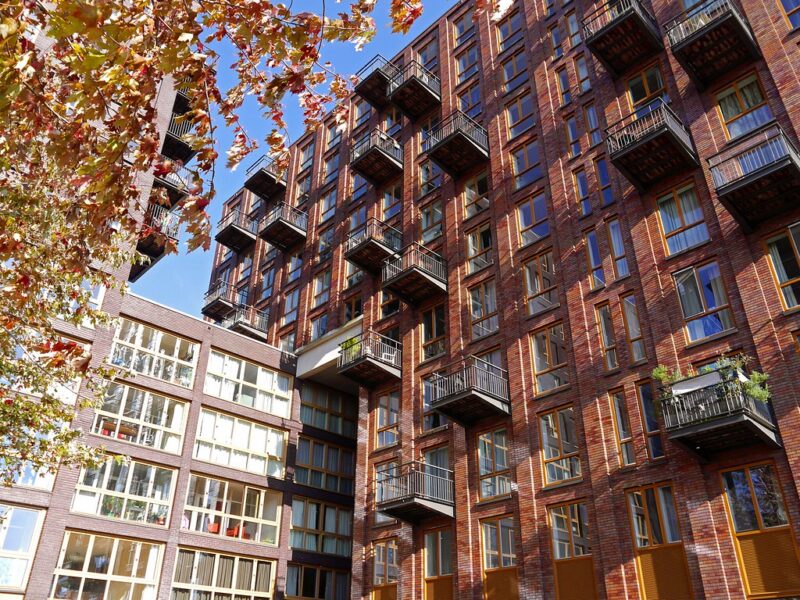
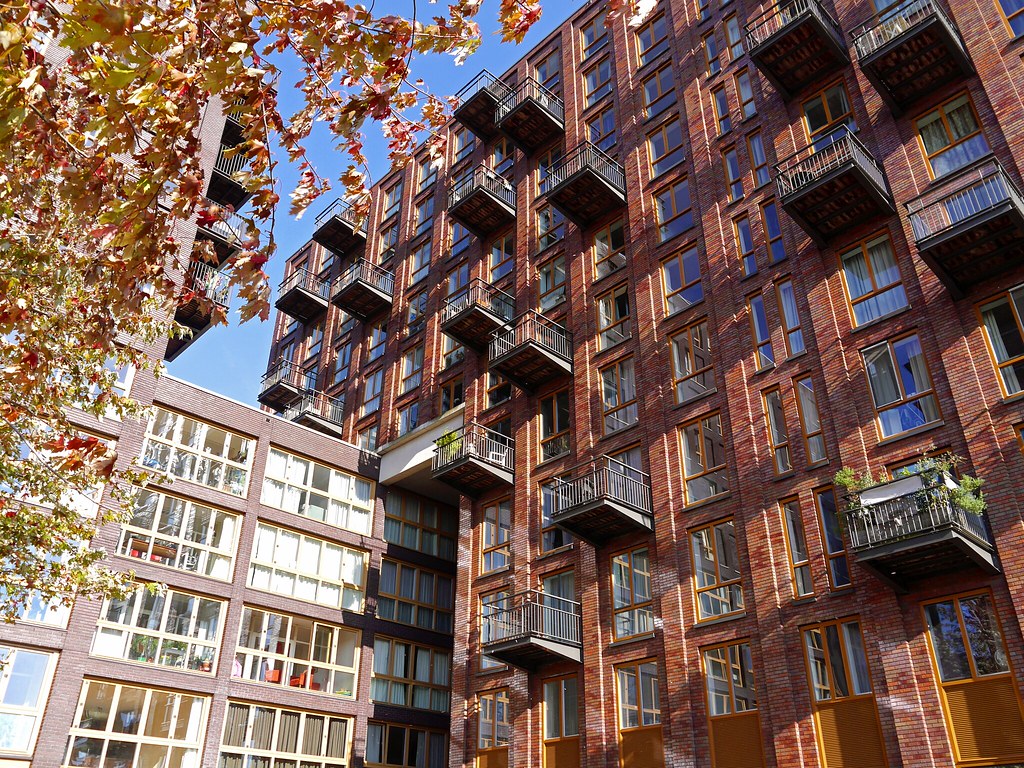
Photo: Amsterdam free photos & pictures of the Dutch city · CC0 1.0

What spalling actually is

Spalling is the brick’s hard outer face breaking away, exposing the softer, more porous body underneath. Once that skin is gone, the brick soaks up even more water and deteriorates faster, so spalling accelerates itself if left alone. It shows up as flaking faces, pitting, and little piles of brick crumbs at the base of a wall. On a historic wall it is heartbreaking, because you cannot glue the face back on, spalled brick has to be repaired or replaced.

The usual causes

Behind almost every spalling wall is water plus one aggravating factor:

  • Freeze-thaw, water in the brick freezes, expands, and pops the face, the dominant cause in DC’s cold snaps
  • Hard mortar on soft brick, which forces stress and moisture into the brick face instead of the joint (the mismatch I cover in matching mortar on 100-year-old brick)
  • Trapped moisture, often from a film-forming sealer or paint that would not let the wall breathe
  • Chronic wetting, from a leaking gutter, failed flashing, or sprinklers hitting the wall
  • Rising damp, ground moisture wicking up into brick near grade

What to do about it

The order matters: find and stop the water first, then repair the brick. Repairing spalled brick without fixing the moisture source just resets the clock. Once the cause is addressed:

  • Lightly spalled brick may be stabilized, but heavily spalled units usually need replacement with matching brick
  • Failed joints should be repointed with the correct soft mortar
  • Any film-forming sealer or trapping paint should be removed so the wall can breathe again

Prevention is cheaper than repair

Keeping brick from spalling comes down to moisture control: sound mortar joints, working gutters and flashing, water draining away from the wall, and, where a finish is truly needed, only a breathable penetrating repellent, never a film former. The Brick Industry Association’s technical notes address spalling causes and prevention through the Brick Industry Association. If your brick is starting to flake, do not reach for sealer or paint first, find the water, because the flaking is the wall telling you where it is getting in.

Painted brick and the trap it sets

A particular version of the spalling problem shows up on the painted rowhouses all over DC, and it catches owners off guard. Ordinary exterior paint forms a film on the brick, and like a film-forming sealer it blocks the wall from breathing. Moisture that gets behind the paint, and it always does, through a crack, a failed sill, rising damp, cannot escape as vapor, so it drives the paint off in sheets and takes the brick face with it. That is why so many painted brick facades spall worse than bare ones once the paint starts to fail. The trap is that the fix is not simply repainting, which just re-seals the moisture in, nor is it always safe to strip the paint, since aggressive stripping can damage soft old brick and older paint may contain lead. On a painted historic wall, the right move is usually to address the water source first, repair any spalled brick, and then use a breathable masonry coating designed to let the wall dry rather than a standard film paint. If you own painted brick and it is starting to flake, treat it as a moisture-and-breathability problem, not a paint-color problem.

Frequently asked questions

What causes brick to spall or flake? Moisture plus an aggravating factor, most often freeze-thaw (water freezing inside the brick and popping the face), hard mortar on soft brick, trapped moisture from film-forming sealers or paint, or chronic wetting from leaks and poor drainage. The face breaks away and the exposed brick then deteriorates faster.

Can spalled brick be repaired? Lightly spalled brick can sometimes be stabilized, but heavily spalled units generally must be replaced with matching brick, you cannot reattach the lost face. Crucially, the moisture cause must be fixed first, or the replacements and repairs will spall too.

Will sealing brick stop spalling? Not if you use the wrong sealer, a film-forming coating traps moisture and makes spalling worse. Spalling is a moisture problem, so the fix is finding and stopping the water (leaks, freeze-thaw exposure, hard mortar). Only a breathable penetrating repellent is appropriate, and only after the cause is addressed.

Matching Mortar on 100-Year-Old Brick

The most expensive masonry mistake I ever inherited was on a century-old building in Chestnut Hill. A previous manager had hired someone to repoint the front with standard modern mortar. Five years later the beautiful old brick was spalling, its faces popping off in sheets, while the new mortar sat there hard as a rock. That is the signature of mismatched mortar, and on old brick it is not a cosmetic issue, it is slow destruction. Matching mortar to old brick is the single most important thing to get right on a historic building.

Matching Mortar on 100-Year-Old Brick
Photo: Anonymous Unknown author · PDM

Why old brick needs soft mortar

Brick made a hundred years ago is softer and more porous than modern brick, and the buildings were assembled with soft, lime-based mortar. That softness is intentional and it is a system: the mortar is meant to be the weaker, sacrificial element. When the wall moves with temperature and moisture, or when water needs to escape, it does so through the soft mortar joints, protecting the brick. Replace that soft mortar with hard modern Portland-cement mortar and you invert the system. The hard mortar will not budge, so the stresses and the escaping moisture go through the brick face instead, and the brick spalls.

What “matching” actually means

Matching historic mortar is more than color. A proper match considers:

  • Strength and composition, a lime-rich mix soft enough to be weaker than the brick, often a lime-sand mortar with little or no Portland cement
  • Color, from the sand and any pigment, matched to the original
  • Sand gradation and texture, so the new joint reads like the old
  • Joint profile, tooled to match the original shape

Getting this right often means having a sample of the original mortar analyzed. The National Park Service’s Preservation Briefs cover repointing historic masonry in detail through the Preservation Briefs, and any competent preservation mason works from that standard.

The test that proves the point

Here is the rule of thumb the trade uses: the mortar should always be weaker than the masonry units. If you can scratch the cured mortar with a nail more easily than you can scratch the brick, you are in the right territory. A mortar harder than the brick is a red flag no matter how neat it looks. This connects directly to reading joint failure in the first place, which I cover in repointing vs tuckpointing.

Why it is worth the fuss

Proper historic repointing costs more, the materials are specialized and the work is slow and skilled, commonly $15 to $30 per square foot or more on historic walls. But the alternative is watching irreplaceable century-old brick destroy itself. On an old building, insist that anyone bidding repointing can tell you the mortar type they will use and why. If their answer is “standard mortar,” keep looking.

Why the old lime mortar was smarter than it looks

It is tempting to think our ancestors used soft lime mortar because they did not have anything better, but the old builders understood something we relearned the hard way. Lime mortar is not just soft, it is self-healing in a modest way: fine cracks can re-close as the lime slowly reacts with moisture and carbon dioxide over time, a property called autogenous healing that a rigid cement mortar simply does not have. Lime mortar also lets a wall breathe, moving moisture out through the joints rather than trapping it in the brick. And because it is weaker than the brick, it accommodates the small seasonal movements of an old building instead of resisting them until something cracks. Modern Portland-heavy mortar is stronger and sets faster, which is why it took over for new construction, but on a soft old wall those same qualities become liabilities. When a preservation mason insists on a lime-based mix, they are not being precious about historical accuracy; they are matching the mortar to how the wall was designed to work, which is the only way it lasts another hundred years.

Frequently asked questions

Why can’t I use regular mortar on old brick? Because old brick is soft and needs a soft, lime-based mortar that is weaker than the brick. Hard modern Portland-cement mortar does not flex or let moisture escape, so stress and water are forced through the brick face instead, causing it to crack and spall. The mortar must be the sacrificial element.

How do I match mortar on a historic building? Match strength and composition (a soft lime-rich mix), color, sand texture and gradation, and joint profile to the original, ideally by having a sample of the old mortar analyzed. Color alone is not enough; the strength and breathability are what protect the brick.

How can I tell if mortar is too hard for my brick? The mortar should be softer than the brick, if a nail scratches the cured mortar more easily than the brick, you are in the right range. Mortar that is harder than the surrounding brick, no matter how neat it looks, will drive spalling and is the wrong mix for old masonry.

Which Masonry Jobs Are Safe to DIY (and Which Need a Pro)

The usual way to sort masonry work into do-it-yourself and hire-it-out is by difficulty, and it is the wrong axis. Some genuinely fiddly jobs are fine to attempt, because a poor result is visible immediately and costs an afternoon to redo. Some easy-looking jobs are not, because the mistake hides for two years and then takes a wall with it. Reversibility is the line worth drawing.

Ask whether a mistake would be reversible

Set a few pavers badly and you lift them and reset them. Point a joint badly and you rake it out and try again, at the cost of your Saturday. But pour a footing at the wrong depth, backfill a wall without drainage, or repoint a soft historic brick with hard modern mortar, and nothing about the failure is visible until it is expensive. The buried, structural, and chemically irreversible jobs are the ones to hand over, regardless of how straightforward the videos make them look.

Work where a careful beginner does fine

There is real, satisfying work in this category. Resetting a handful of sunken pavers, topping up joint sand and recompacting it, cleaning masonry with water and a soft brush, building a low garden wall out of dry-stacked block on a proper compacted base, and repointing a small area of a non-structural garden wall are all reasonable projects. What they share is that the wall is not holding anything up, the failure mode is cosmetic, and you can undo the work with hand tools.

The jobs that need a pro, and the reason why

Anything carrying building load is the obvious one: foundation repair, underpinning, piers, or removing part of a load-bearing wall. Chimneys are second, because the failure mode involves combustion gases and the structure sits three storeys up. Retaining walls above the local height threshold need engineering and the drainage detail that comes with it. And repointing an older house is on this list for a reason that surprises people: it is not hard to do, it is hard to do without damaging the brick, because the mortar has to be softer than the units it sits between. Portland-rich mortar in a nineteenth-century wall traps moisture and spalls the brick faces, and the damage is permanent.

What the tools actually add up to

The savings math is usually built on labor alone, which is where it goes wrong. A mixer, a plate compactor, a wet saw with the right blade, a demolition hammer, scaffolding, and hauling for the debris are all rentals, and several days of rentals plus dump fees plus material you cut wrong closes most of the gap on a mid-size job. It closes all of it if the work has to be redone. The jobs where doing it yourself genuinely saves money are the small ones with hand tools, which is the same category as the reversible ones.

Mixing is the skill nobody expects

If you do take something on, the part to respect is the material. Mortar and concrete are chemistry with a clock: a batch that is too wet loses strength permanently, a batch left too long is finished whatever you do to it, and a joint filled against a dusty or dry surface will not bond no matter how good it looks. Mix small batches, keep the water consistent between them, wet absorbent brick before pointing, and protect fresh work from sun, wind, and frost. Half of the amateur masonry I get called to repair was competent workmanship on top of a bad mix.

Frequently asked questions

Can I repoint my own brick? On a small non-structural area, with the right mortar, yes. The critical part is matching the existing mortar in strength and composition rather than buying a general-purpose bag. On an older house, the wrong mix does permanent damage to the brick, so it is worth confirming what is up there first.

Is laying a patio a realistic weekend project? The laying is the easy part. The base is the job: excavation, a compacted aggregate depth suited to the use, and slope for drainage. Most failed DIY patios failed in the base, and no amount of care with the pavers on top compensates for it.

How do I know a job is beyond me? Ask what happens if it is wrong. If the answer is that it looks bad and you redo it, attempt it. If the answer involves something settling, leaking, falling, or venting into the house, that is the point to bring someone in.

Retaining Walls in Tucson: Caliche Soil, Heat and Costs

Up in the Oro Valley foothills I once spent the better part of a day trying to dig a footing and getting maybe eight inches down before I hit caliche so hard it bounced the bucket. If you’ve built anything in the Tucson area you know the feeling. The homeowner wanted a retaining wall to hold back a slope that had already dumped mud across her driveway during monsoon season. Simple job on paper. In the desert, nothing about a retaining wall is simple, and I’ve been building them for more than thirty years.

Retaining Walls in Tucson: Caliche Soil, Heat and Costs
Photo: Armcon Precast · BY 2.0

What retaining walls cost in Tucson

For 2026, plan on $35 to $75 per square foot of wall face for a properly built retaining wall in the Tucson area, installed. A short garden wall might run $3,000 to $8,000; a tall engineered wall holding a real slope can run $10,000 to $30,000 or more. The spread is huge because a retaining wall isn’t a fence, it’s a structure fighting tons of soil and water, and the cost lives in the parts you can’t see: the footing, the drainage, and getting through the caliche. These are estimates, not guarantees.

Caliche: the reason your quote is higher than you expected

Caliche is a natural, cement-like hardpan layer in our desert soil, and it’s the single biggest wildcard in Tucson excavation. On some lots you dig through a few inches; on others you’re renting a jackhammer or bringing in heavy equipment just to trench a footing. I’ve had two jobs on the same street where one footing dug in an afternoon and the other took two days. Any honest bid for desert work accounts for caliche, and any contractor who quotes a slope wall without asking about your soil is guessing.

Caliche cuts both ways, though. It’s miserable to dig, but it’s also a firm bearing layer once you’re through it, which is part of why block and poured walls do well out here.

Block or poured, and building for heat and monsoon

Most Tucson retaining walls I build are either segmental concrete block (SRW) or poured, reinforced concrete faced with block or stucco. Both work; they suit different sites and budgets. I compare them in segmental block versus poured concrete retaining walls, but for most residential slopes around Oro Valley, engineered segmental block with proper reinforcement is the workhorse.

The desert throws two things at a wall. First, heat and UV: relentless sun bakes and fades materials, and cheap sealers or the wrong block won’t last. Second, and more dangerous, monsoon flooding. From July through September we get sudden downpours, and the water finds every slope. A retaining wall without drainage behind it becomes a dam; the soil saturates, the pressure spikes, and the wall bulges or blows out. Proper gravel backfill, drainage stone, and weep holes or a drain pipe are not optional here, they’re the whole ballgame. If you want a Tucson masonry contractor to build something that survives a decade of monsoons, that drainage detail is the first thing to ask about.

Permits and when you need an engineer

In the Tucson area, a low garden wall usually doesn’t need a permit, but retaining walls above a certain height, commonly around four feet measured from the bottom of the footing, or any wall carrying a surcharge like a driveway above it, typically require a permit and an engineer’s design. You can confirm current thresholds with the City of Tucson or your local jurisdiction, since Oro Valley and Pima County set their own rules. Don’t skip this. An under-built tall wall is a genuine hazard, not just a code problem.

Frequently asked questions

Why is retaining-wall excavation so expensive in Tucson? Caliche, a rock-hard natural hardpan in our desert soil, often has to be broken with jackhammers or heavy equipment to dig a proper footing, and that added labor and machine time can put thousands onto a job.

How tall can a retaining wall be before I need a permit and an engineer? It’s commonly around four feet, measured from the bottom of the footing, but any wall holding an extra load like a driveway above it can trigger engineering at a lower height, so check with your local jurisdiction.

What kills retaining walls in the desert? Water, not heat: monsoon rain saturates the soil behind a wall that has no drainage, and the hydrostatic pressure pushes it out, so proper gravel backfill and weep holes or a drain are what keep a desert wall standing.

Paver Patio Costs in Jacksonville (2026)

Riverside is full of those 1920s bungalows with the deep porches, and a lot of them have a backyard that turns into a swamp for twenty minutes every afternoon in July. That’s where I get most of my Jacksonville patio calls. One I remember: a homeowner off Park Street had paid for a paver patio two years earlier, and after a tropical storm rolled through, half of it had sunk into a shallow bathtub of standing water. The pavers themselves were fine. The base underneath them never stood a chance. I’ve been laying masonry and hardscape for over thirty years, and in Florida the whole game is the base and the drainage, not the pretty part on top.

Paver Patio Costs in Jacksonville (2026)
Photo: Anonymous Unknown author · PDM

What a paver patio costs in Jacksonville

For 2026, I tell Jacksonville homeowners to budget $14 to $28 per square foot installed for a standard concrete paver patio done properly. A typical 300-square-foot patio lands somewhere around $4,200 to $8,400. Go with premium pavers, lots of curves and cuts, a seat wall, or a fire feature, and you can push $30 to $50 per square foot. These are estimates. Your soil, your access, and your drainage needs move the number more than the paver you pick off the display.

What drives the price here

  • The base. Our sandy soil doesn’t hold like clay. A patio that lasts needs a properly compacted crushed-stone base, usually 4 to 6 inches, and more where the ground is soft. Skimp here and it sinks, exactly like the Park Street job.
  • Drainage and slope. With our downpours, the patio has to shed water away from the house. That means grading, and sometimes a drain or a permeable design.
  • Access. Jacksonville lots vary a lot. A wheelbarrow path through a narrow side yard adds labor fast.
  • The pavers. Basic concrete pavers are cheap; clay brick, large-format, and porcelain cost more.

Because so much Florida patio failure comes down to water and heat, I’d read up on building a patio that survives Florida humidity and storms before you commit to a design. If you’d rather hand the whole thing off, a crew that does proper Jacksonville masonry will spec the base and the slope for you and put it in writing.

Building for sand, storms, and salt

Florida doesn’t freeze, so we skip the freeze-thaw headaches my northern jobs deal with. But we trade them for other problems. Sandy soil shifts and washes. Tropical storms dump inches of rain in an hour. Our humidity feeds algae and mildew, so a shaded patio needs a joint sand and a surface that won’t turn into a slip hazard. And near the water, salt air corrodes anything metal, so edge-restraint spikes and hardware should be corrosion-resistant.

The good news about pavers in this climate is that they’re a flexible system. Unlike a poured slab that cracks when the ground moves, individual pavers ride small movements and can be lifted and reset if a section settles. That’s a real advantage in sandy Jacksonville soil, where a rigid slab often ends up with a crack running right through it. The catch is that “flexible” only works over a base that was built and compacted right in the first place. I also like polymeric joint sand here; it locks the pavers together and slows the weeds and ants that love our sandy gaps.

Permits, drainage, and doing it by the book

A ground-level paver patio often doesn’t require a building permit, but drainage rules, impervious-surface limits, and setbacks vary, and covered or attached structures are a different story. Check current requirements with the City of Jacksonville before you dig; it’s cheaper than tearing out work that violates a setback. In the historic parts of Riverside and Springfield, there can be extra review too.

Frequently asked questions

How much does a paver patio cost in Jacksonville? Most standard concrete paver patios run $14 to $28 per square foot installed, so a 300-square-foot patio typically lands around $4,200 to $8,400, with premium materials and features pushing it higher.

Do pavers hold up in Florida’s climate? Yes, because Florida doesn’t freeze, pavers avoid freeze-thaw damage, and their flexible design handles our shifting sandy soil better than a poured slab as long as the base is compacted correctly.

Do I need a permit for a paver patio in Jacksonville? A simple ground-level patio often doesn’t, but drainage, impervious-surface, and setback rules can apply, and historic-district properties may need extra review, so confirm with the city before starting.

Stone Veneer That Lasts in the Georgia Climate

A couple of years back I got called out to a house off Roswell Road in Buckhead where the manufactured stone on the front columns was letting go in sheets. The homeowner figured her installer had ripped her off. He had, sort of, but the real culprit was the same thing that wrecks half the veneer I see around Atlanta: water, red clay, and a crew that skipped the drainage plane behind the stone. I’ve been setting stone and brick for more than thirty years, and if there’s one product people buy without understanding what they’re buying, it’s veneer.

Stone Veneer That Lasts in the Georgia Climate
Photo: Beasley, C. N., creator · PDM

“Veneer” just means a thin skin of stone, or something molded to look like stone, hung on the face of a wall. It carries no structural load; the wall behind it does that. That’s not a knock. Done right, veneer is a smart, good-looking way to dress up a brick ranch or a new Craftsman front. Done wrong in the Georgia climate, it’s a moisture trap that stains, spalls, and eventually lets go of the wall.

Natural stone versus manufactured

You have two real choices. Natural stone veneer is actual quarried fieldstone, limestone, or granite cut thin. It’s heavier, pricier, and lasts effectively forever if it’s set right. Manufactured stone veneer is molded, dyed concrete. It’s lighter, cheaper, faster to set, and the color is only as deep as the surface, so a hard chip shows gray underneath. Neither is “better” across the board; they fail differently. I break the trade-offs down in natural stone versus manufactured veneer, but the short version is this: manufactured is fine when it’s installed the way it’s supposed to be, and a disaster when it isn’t.

What Georgia’s climate does to veneer

Atlanta is humid, it rains hard, and that combination is rough on masonry. Three things I see over and over in Buckhead, Decatur, and Sandy Springs:

  • Efflorescence. That white, chalky bloom on the surface is salt carried out by moisture moving through the wall. It’s a symptom of water where it shouldn’t be.
  • Organic staining. Our shade and humidity grow algae and mildew on damp north-facing veneer. Green and black streaks are a moisture-and-airflow problem, not just a dirty wall.
  • Red clay movement. Georgia’s expansive red clay swells when wet and shrinks when dry, so foundations heave and settle. That movement telegraphs up into rigid veneer as stair-step cracks.

We don’t get brutal winters, but Atlanta sees enough freeze-thaw cycles that any water sitting in a poorly drained veneer will eventually pop the face off. Which brings me to the part that actually matters.

How to buy veneer that lasts here

The product barely matters compared to what goes behind it. When I bid veneer in Georgia, the wall assembly always includes a weather-resistant barrier, a drainage plane or gap, proper flashing, and weep holes at the bottom so any water that gets behind the stone can drain and dry. Skip that and you’ve built a sponge. The Concrete Masonry & Hardscapes Association publishes installation standards that spell this out, and any crew doing serious Atlanta masonry should follow them without being asked.

Questions to ask before you sign:

  1. What goes behind the veneer for drainage and moisture control?
  2. Where are the weep holes, and how are the top edge and the windows flashed?
  3. Is the base of the veneer held a few inches above grade? Stone touching that red clay wicks water like a straw.

What it costs

In the Atlanta market for 2026, figure roughly $18 to $32 per square foot installed for manufactured stone veneer, and $30 to $55 per square foot for natural thin stone, materials and labor together. A typical front-of-house accent, columns, a water table, and a chimney chase, often runs $4,000 to $12,000. Those are ballpark estimates, not a guarantee. The drainage details and site access drive the real number more than the stone you pick.

Frequently asked questions

Does manufactured stone veneer hold up in Georgia humidity? Yes, when it’s installed over a proper drainage plane with flashing and weep holes; the product itself survives fine, and it’s trapped moisture behind a badly built wall that causes the failures I get called about.

Why is my stone veneer turning white? That white haze is efflorescence, soluble salt pushed to the surface by moisture inside the wall, and it usually points to a drainage or flashing problem behind the veneer rather than a surface you can scrub once and forget.

Should veneer touch the ground? No. Keep the bottom of the veneer a few inches above grade, because in Atlanta’s red clay, stone set right against the soil wicks up ground moisture and fails at the base first.

What Brick Repointing Costs in Philadelphia Rowhomes (2026)

Last spring a guy in Fishtown flagged me down while I was loading the truck two doors up. He’d been poking at the mortar joints on his rowhome with a screwdriver and it was coming out like brown sugar. “Is that bad?” he asked. I gave him the honest answer: when the joint gives up before the brick does, that’s the mortar doing its job, and now it’s your turn to do yours. I’ve been laying and repointing brick for over thirty years, a good chunk of it on Philadelphia rowhomes, and repointing is the single most common repair I get called for around here.

What Brick Repointing Costs in Philadelphia Rowhomes (2026)
Photo: Ammodramus · CC0

Repointing means grinding or raking out the old failed mortar and packing in fresh. It’s not glamorous work, but on a brick rowhome it’s the difference between a wall that lasts another eighty years and one that lets water in behind the brick. And in this city, water behind the brick means freeze-thaw, and freeze-thaw means spalled faces and blown-out joints by March.

What repointing actually costs in Philadelphia

For 2026, on a typical Fishtown or Kensington rowhome, I tell people to budget $12 to $28 per square foot of wall face for proper repointing. A single front facade, say the second and third floors above the cornice line, often lands in the $3,000 to $9,000 range. A full front, or a front plus a chimney and parapet, can run $8,000 to $18,000 once you factor in scaffolding. These are estimates, not quotes. The only honest number comes after someone stands on the wall and reads it.

What drives the number up or down

  • Access. Rowhomes share walls, so I almost never work a three-story front off ladders. That means pump jacks or pipe scaffold, and sometimes a street-closure permit from L&I if I’m hanging over the sidewalk.
  • How much has failed. Spot-pointing a few soft joints is cheap. Cutting out one hundred percent of the joints on a weathered south face is a different animal.
  • Matching the mortar. Older Philly brick is soft, and it was laid in lime mortar. Repointing it with hard modern Portland mortar traps moisture and cracks the brick faces. I’ve torn out plenty of well-meaning “repairs” that did exactly that.
  • Historic districts. Parts of Society Hill and Old City carry review requirements, and that changes both the schedule and the mortar spec.

If you’re not sure whether your joints are actually shot or just dirty, learn how to tell when mortar has failed before you spend a dime. Half the “emergencies” I get called to look at are cosmetic.

Why the mortar mix matters more than the price

This is the part cheap crews get wrong. A century-old rowhome brick wants a soft, lime-based mortar that flexes and breathes. Slap a bag of high-strength Portland on it because it’s fast and cheap, and the mortar becomes harder than the brick. So when the wall moves, the brick spalls instead of the joint. The National Park Service lays this out plainly in its preservation briefs on repointing historic masonry, and every good mason in this town follows the same logic whether the house is “historic” on paper or not. When you’re vetting a crew for Philadelphia masonry, ask what mortar type they’ll use and why. If they can’t answer, keep walking.

Getting it done right in a Philly winter

You cannot repoint in the cold. Fresh mortar needs to cure above about 40 degrees Fahrenheit, and if it freezes green it never gains strength. I won’t schedule exterior pointing here from roughly December through February unless we tent and heat the wall, and that costs more. The best window in Philadelphia runs April through early November. Book spring work in January or February, because the good crews fill up fast.

One more thing from thirty years of this: repointing buys you decades, but only if the rest of the wall stays dry. Check your gutters, your coping, and the flashing where the parapet meets the roof. I’ve repointed beautiful walls that failed again in five years because nobody fixed the busted downspout dumping water down the brick.

Frequently asked questions

How long does repointing last? Done right with the correct lime-based mortar, repointing on a Philadelphia rowhome should last 50 to 100 years. Done with the wrong hard mortar, you can see failure again in 5 to 10.

Do I need a permit to repoint my rowhome? Like-for-like repointing usually doesn’t require a building permit in Philadelphia, but scaffolding over the sidewalk or work in a historic district can trigger L&I or historical review, so check before you start.

Can I just repoint the front and skip the rest? Yes, and most people do. The weather-facing front and any chimney or parapet take the worst beating, while rear and party walls can often wait as long as they aren’t actively leaking.