Real Stone or Manufactured Veneer: Which Lasts, and What It Costs

Standing three feet from a well-installed wall, most people cannot reliably tell quarried stone from the manufactured product. Standing three feet from the same wall twenty years later, almost anyone can. That gap is the honest way to frame this choice: the two materials start close and diverge slowly, and how much that matters depends on how long you intend to own the result.

One is quarried, the other is cast concrete

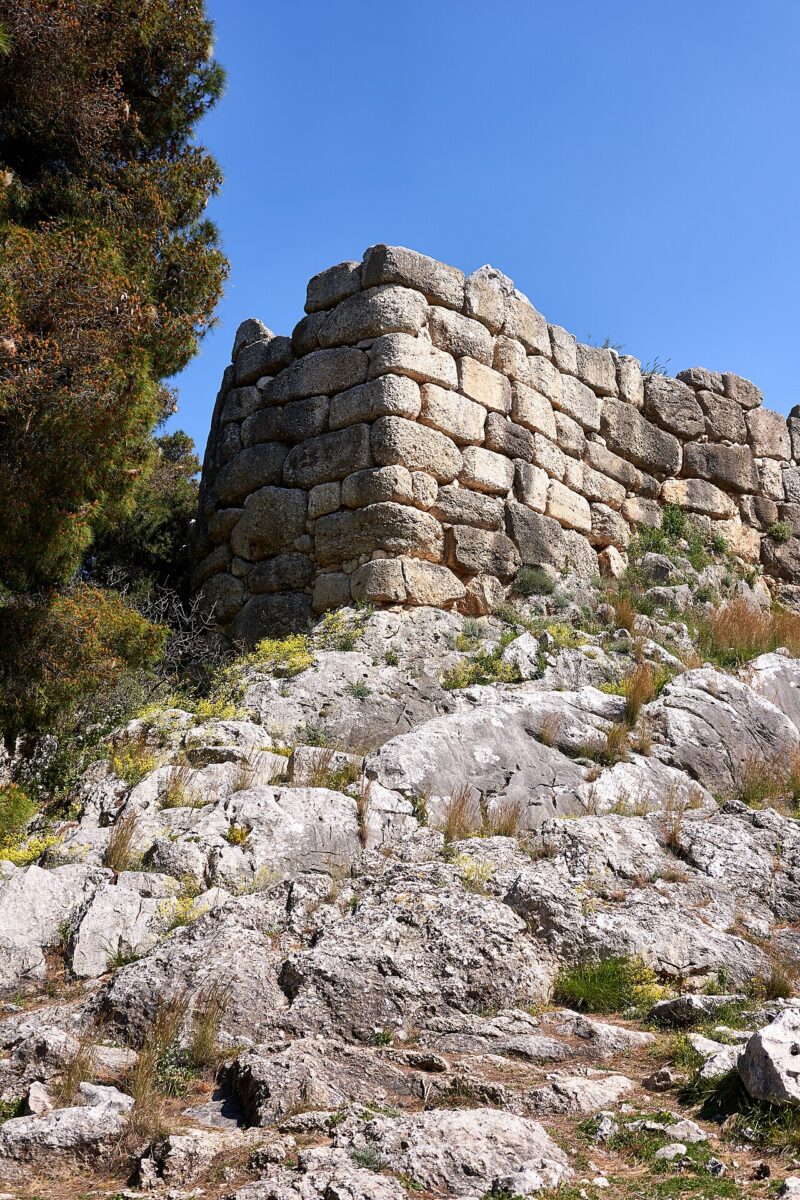
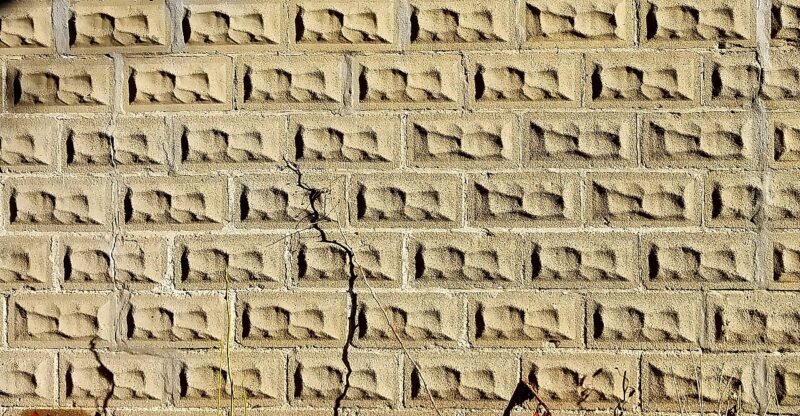
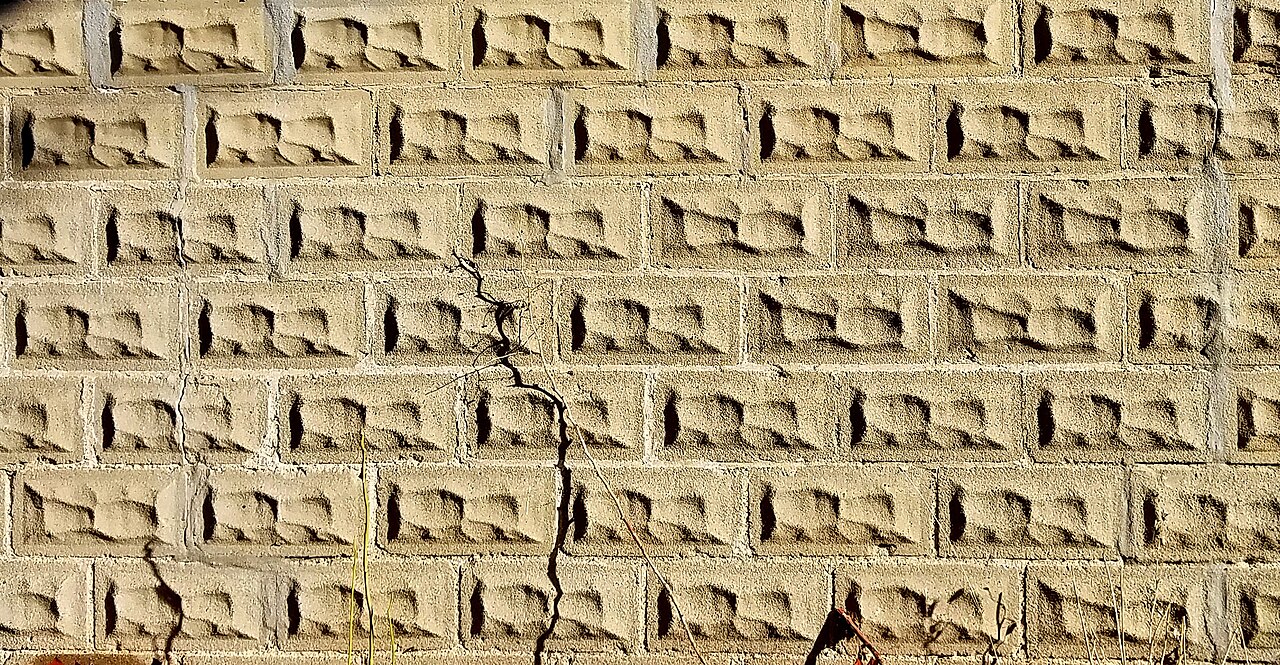
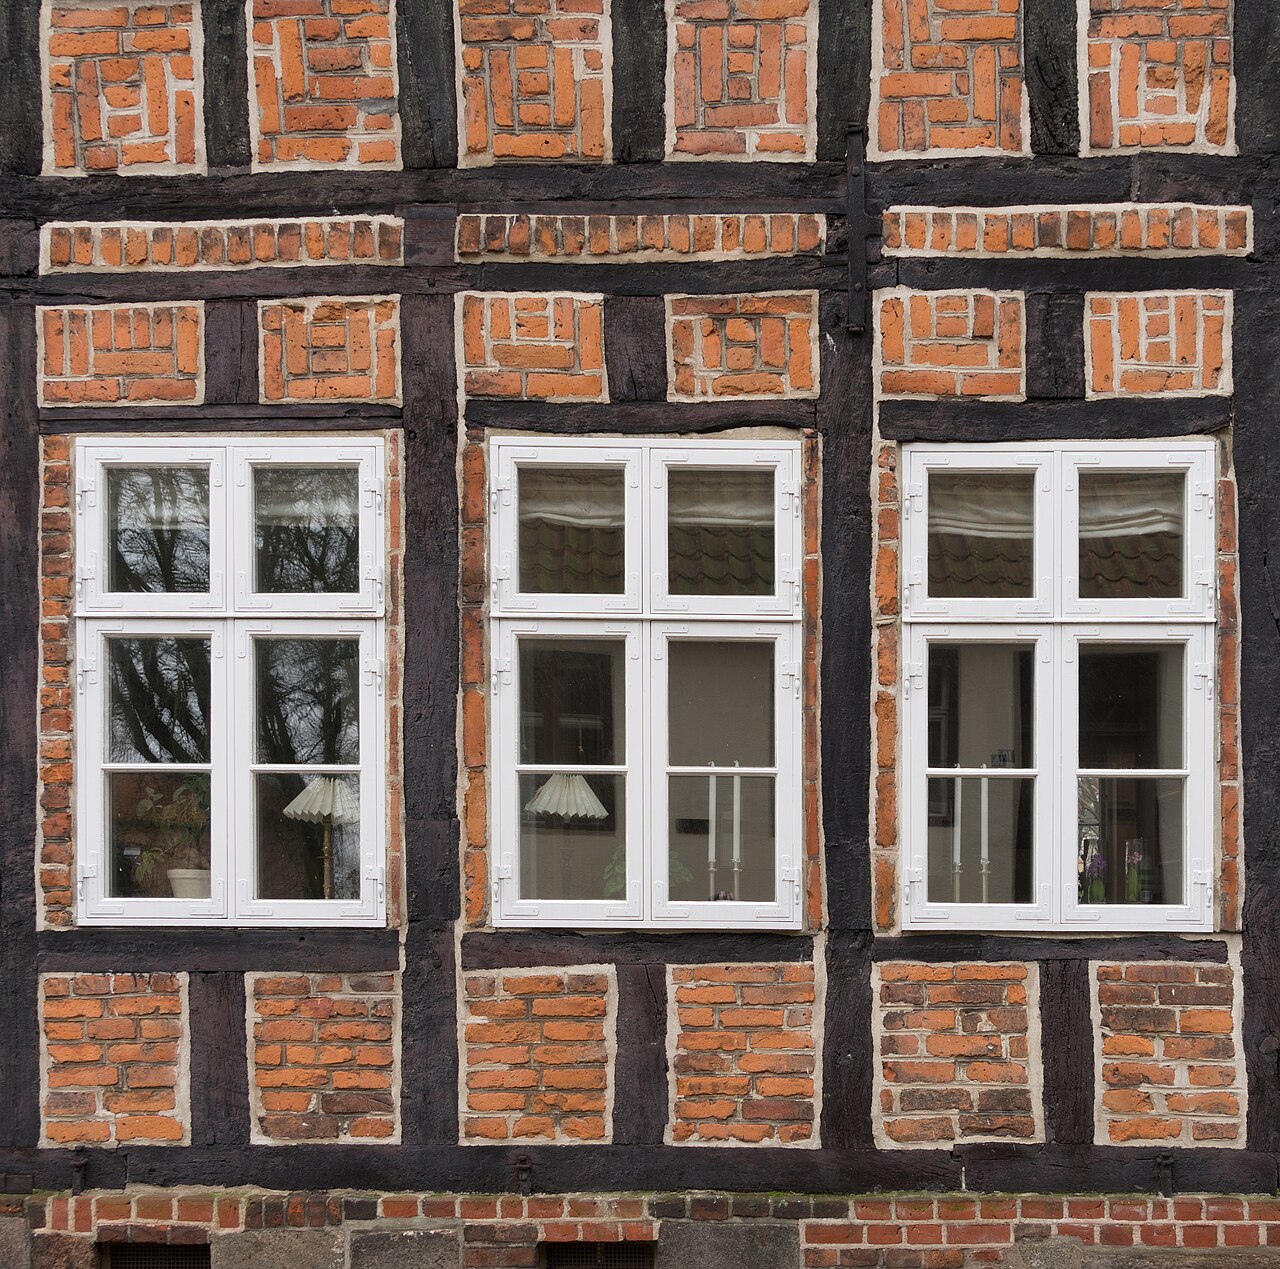
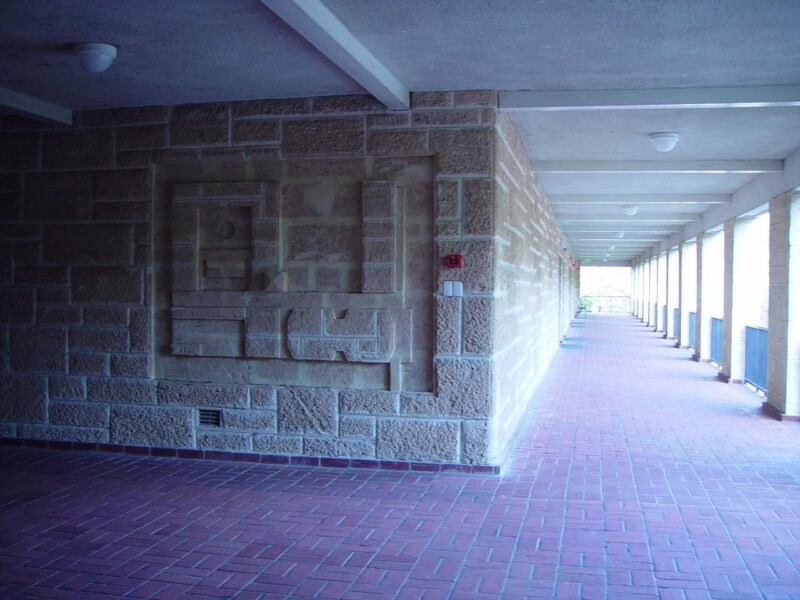
Natural veneer is real stone, cut or split to a thickness that lets it be applied as a facing rather than laid as a structural wall. Manufactured veneer is lightweight concrete, cast in moulds taken from real stone and coloured with pigment through the mix and on the surface. It is a genuine masonry product rather than an imitation panel, and the good ones are convincing. The difference that matters is not authenticity, it is that the colour in a manufactured unit is a finite layer while in stone it goes all the way through.

Weight is what drives the installed cost

Manufactured veneer weighs roughly a third to a half of what natural stone does per square foot, and that single fact cascades through the budget. Lighter units are faster to place, cause less fatigue over a day, need less structural support, and often avoid the need for a supporting ledge or shelf angle that heavy stone would require. Uniform thickness helps too, because there is far less fitting and cutting. The material price gap is real but the installation gap is usually larger, and on a big elevation the labor difference can exceed the material difference. Weight also decides what is possible on a retrofit. Adding heavy stone to an existing wall may require structural support that was never built into it, and once a shelf angle and its fixings enter the scope the cost comparison stops being about the facing at all.

How each one ages through freeze-thaw

Stone weathers rather than fails. It darkens, it grows lichen, mortar joints need attention every few decades, and most people consider the result an improvement. Manufactured veneer holds its appearance well for a long time and then reaches the end of a finite service life: the pigmented surface gradually fades, and in a climate with hard freeze-thaw cycling the exposed faces can begin to lose their skin. Once that starts on one elevation it is difficult to patch invisibly, because new units will not match aged ones.

The failure that ends a veneer job early

Whichever material goes on the wall, the majority of failures are water rather than product. Veneer of either type is a cladding, not a waterproof layer, and it depends on the assembly behind it: a weather-resistive barrier, a drainage plane, correctly lapped flashing, and weeps at the base that are actually open. When water gets behind veneer and cannot leave, it freezes and pushes units off the wall, and it rots whatever framing is behind. Installations that fail in under ten years almost always failed at the flashing, and no upgrade in stone quality compensates for it.

Matching an older house

On a period property the deciding factor is usually context rather than cost. Manufactured units repeat, because they come from a limited number of moulds, and on a large uninterrupted elevation the repetition becomes visible once you notice it. Mixing sources and orienting units deliberately reduces the effect. Natural stone has no such constraint, and where the house already has stone details, matching them convincingly is much easier with the real material. For a chimney breast, a garden wall, or a feature panel, the quantities are small enough that the price difference is modest.

Frequently asked questions

How long does manufactured veneer last? Reasonably installed, several decades, with the surface appearance gradually softening well before anything structural happens. Its life is shortest at ground level, in splash zones, and anywhere it is regularly wetted and frozen.

Can veneer be applied over existing brick? Often yes, provided the brick is sound and the assembly still manages water correctly. The wall has to carry the extra weight, and flashing and weeps have to be reworked rather than buried behind the new facing.

Does either need sealing? Usually not, and sealing can trap moisture. Where a manufactured product recommends a breathable treatment for a splash zone, follow the manufacturer instruction rather than applying a general-purpose film-forming sealer over the whole elevation.
Why Atlanta Brick Fails Sooner in Georgia Humidity

My house in Decatur was built in the 1920s, and its brick had survived a full century by the time I bought it. So I was surprised, three summers in, to find the south-facing wall shedding thin flakes of brick face onto the flower bed. A neighbor’s much newer brick was doing the same thing. The bricks weren’t defective. They were living in Georgia, and Georgia is harder on masonry than its mild reputation suggests.

Why Atlanta Brick Fails Sooner in Georgia Humidity
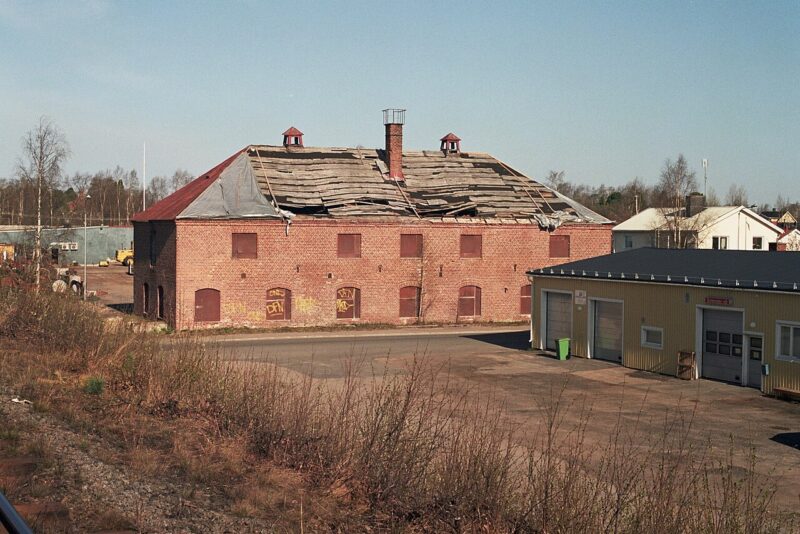
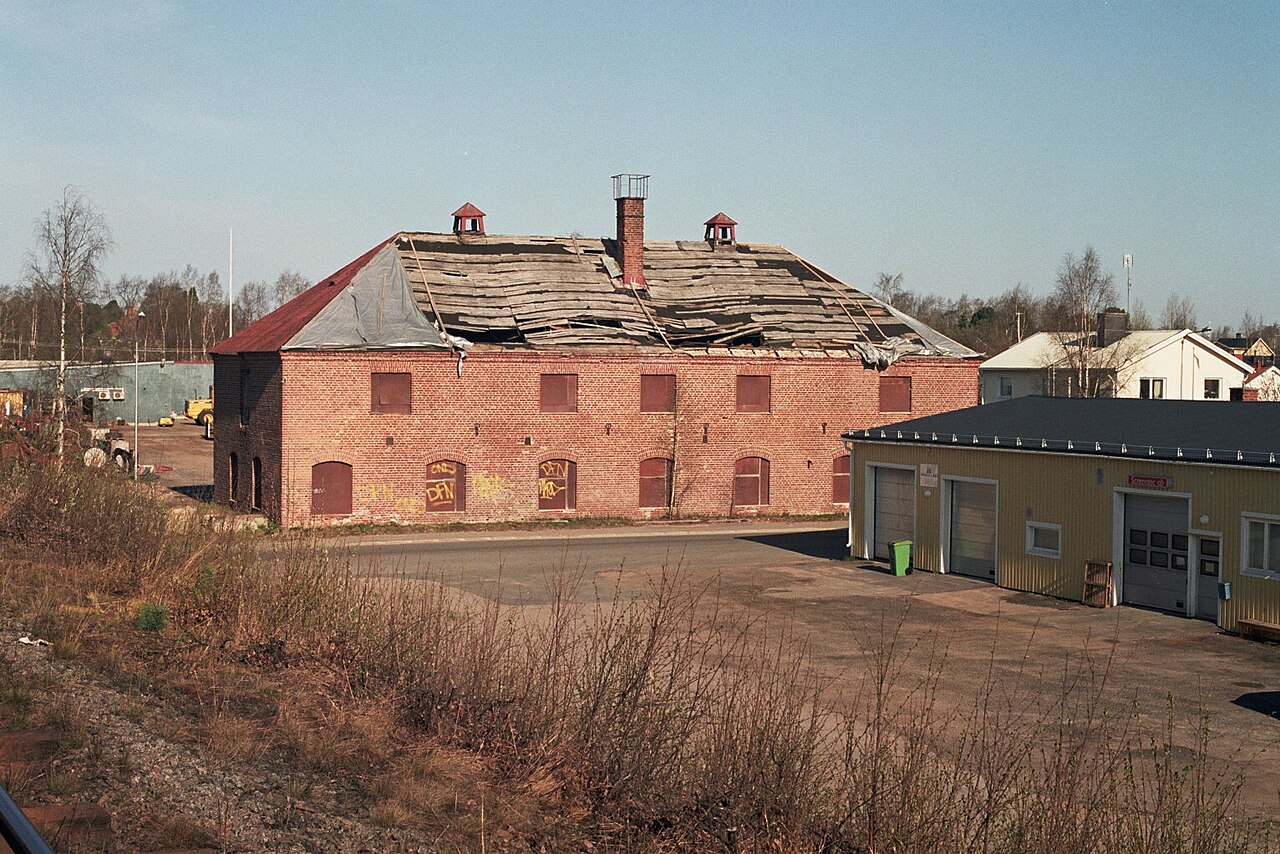
Photo: Methem (Mikko J. Putkonen) · BY

I’ve spent years restoring that house, and the humidity is the quiet villain behind most of what goes wrong with brick around Atlanta. Here’s what I learned watching my own walls and asking a lot of questions.

Why Georgia’s climate works against brick

Brick is porous. It drinks water, then it needs to dry. Around metro Atlanta we get heavy rain, long stretches of high humidity, and just enough winter cold to matter. Water soaks into the brick and mortar, and when a cold snap freezes that trapped moisture, it expands and pushes the brick face apart. That flaking and crumbling is called spalling, and while our winters are milder than the upper Midwest, we still get enough freeze-thaw cycles to do slow damage, especially on walls that stay damp because they never catch afternoon sun.

Humidity makes it worse by keeping everything wet longer. A wall in Wisconsin freezes hard and then dries out; a wall in Decatur can stay damp for days, and constant moisture is what feeds the two problems below.

The red clay problem underneath

Georgia’s famous red clay is expansive soil. It swells when it’s wet and shrinks when it’s dry, and it does this season after season. That movement travels up into foundations and brick walls as stair-step cracks through the mortar joints, usually near corners and windows. On my house the worst cracking followed a drought year, when the clay shrank away from the footing and a corner settled. Expansive clay is why so many older brick ranch and Craftsman homes here show cracking that has nothing to do with the quality of the brick; it’s the ground moving.

If you’re seeing new or widening cracks, that’s worth a professional look sooner rather than later. When I finally brought in an Atlanta masonry contractor to assess mine, the fix was as much about drainage and soil moisture as it was about the brick itself.

Efflorescence and biological staining

Two cosmetic-but-telling problems show up constantly on humid-climate brick. The first is efflorescence, the chalky white haze that appears when water moves through masonry and leaves salts on the surface. It’s a signal that water is getting in and out of the wall. The second is the green and black biological staining, meaning algae, mildew, and moss, that thrives on shaded, damp brick through our long warm season. I used to scrub the white haze off and assume I’d solved something. I hadn’t. It’s worth understanding the causes before you clean, which is why I dug into what causes efflorescence on brick and block and how to actually fix it.

What actually helps

The fixes that lasted for me were about water, not appearance. Keeping gutters clean and downspouts running well away from the wall did more than any product. Repointing failed joints with an appropriately soft mortar let the wall breathe instead of trapping moisture. I stayed away from film-forming “waterproof” paints and sealers, which can trap moisture behind the brick and speed up spalling; the Brick Industry Association’s technical resources on moisture and brick durability spell out why breathable is better. Expect real repair work here: repointing commonly runs $8 to $20 per square foot, and replacing spalled brick with matched units often adds $15 to $30 per brick. It isn’t cheap, but catching it early beats rebuilding a wall.

Frequently asked questions

Does humidity really make brick fail faster? Yes, indirectly. Humidity keeps brick and mortar damp longer, and moisture is what drives spalling, efflorescence, and biological staining. Brick that can dry out between rains lasts far longer than brick that stays wet in shade.

Is spalling brick on my Atlanta home an emergency? Usually not immediately, but it won’t stop on its own. Once the hard outer face flakes off, the softer interior absorbs even more water and deteriorates faster. Addressing drainage and repointing within a season or two is a reasonable timeline.

Should I seal my brick to protect it from Georgia weather? Be careful. Film-forming sealers can trap moisture and make spalling worse. If any sealer is used, it should be a breathable, vapor-permeable type, and fixing drainage and mortar usually matters more than any coating.

What Every Line on a Masonry Quote Actually Means

A masonry quote is a description of work with a price attached to it. When two quotes for the same wall differ by thousands, the usual explanation is not that one contractor is greedy and the other generous. It is that they are describing two different jobs, and the description is buried in lines that read as boilerplate.

A quote is a scope, priced

A complete estimate identifies the work area and its dimensions, the demolition and disposal involved, the preparation and base work, the materials by specification rather than category, the labor, the equipment and access, the cleanup, and the terms covering payment and warranty. A single-line quote for a wall with a number after it is not a cheap quote, it is an undefined one, and every ambiguity in it will be resolved in the contractor’s favour later because nothing written says otherwise.

Where the labor number comes from

Labor is usually the largest share of a masonry job, frequently more than half. That surprises people looking at the price of block or brick and doing arithmetic. What they are not pricing is the unproductive time: setting up and striking scaffold, mixing, hauling material to the work face by hand because the truck cannot get close, cutting units, and cleaning down at the end of each day. A crew rate multiplied by realistic days is what most of the number is, and a bid that is far below the others has usually shortened the days rather than found a cheaper mason.

Material lines that hide the specification

The material lines are where the important omissions live. Mortar described only as mortar tells you nothing: type S and type N behave differently, and on older brick a lime-based mix is the correct answer and a cement-rich one causes damage. Aggregate base described without a depth is not a specification. Reinforcement, geogrid, drainage pipe, filter fabric, ties, flashing, and weeps are all items that a bid can quietly leave out, and all of them are invisible once the work is finished. When a quote lists a proprietary product by name and depth, that is a good sign about the contractor.

Access, disposal, and the costs nobody photographs

Demolition and haulage are real money on a masonry job, because the debris is dense and dump fees are charged by weight. Access is the other one: a wall reached only through a house, a narrow alley, or a back garden with steps changes the labor number substantially, and a contractor who has not walked the site has not priced it. Permit fees, protection of adjacent surfaces, and making good the landscaping afterwards belong in the quote too, and their absence is a conversation worth having before signing rather than after. Two more lines deserve a look for the same reason. Water and power on site sounds trivial until a contractor has to bring both, and unforeseen ground conditions need a stated mechanism, whether an hourly rate or an agreed process, because discovering rock or a buried drain halfway through is common enough that silence on it is not an oversight.

Comparing two bids that describe different jobs

Line them up item by item rather than comparing totals. Where one bid is lower, find which line accounts for the difference: it is nearly always base depth, drainage, or reinforcement. Then ask both contractors the same question about that line and see who is more specific. A payment schedule tied to milestones rather than a large deposit up front, a written warranty on workmanship, and evidence of current insurance are the other three things worth confirming before price enters the conversation at all.

Frequently asked questions

How much deposit is normal? Enough to cover material ordering, commonly a modest percentage, with the balance tied to progress milestones and a final payment on completion. A demand for most of the money before work starts is worth questioning.

Should quotes be itemized? Yes, and a contractor who declines to itemize is telling you something. Itemization is what makes two bids comparable and what stops a dispute later about whether something was included.

Why do quotes for the same wall vary so much? Usually scope. One bid includes excavation to a proper depth, drainage, and reinforcement, and another builds a facing on shallow fill. They look like the same wall on the day it is finished, and they behave very differently after five winters.

How to Clean Brick Safely Without Wrecking the Joints

Cleaning brick looks like the least risky thing you can do to a wall, which is exactly why so much brick gets damaged doing it. The brick face is hard. The mortar between it is deliberately softer, and on an older wall it is much softer. Every cleaning decision is really a decision about what that mortar can survive.

The mortar is the soft part, and that is the whole problem

A masonry wall is designed so that the joints are the sacrificial element. They take up movement, and when something has to give, they are meant to go first because repointing a joint is far cheaper than replacing a spalled brick. That design intent works against you during cleaning: pressure that a modern brick face shrugs off will erode a lime joint noticeably in a single pass, and once the joint is scoured back the wall starts taking water where it never did before. Damage from cleaning shows up as a leak the following winter, not on the day.

Start with the mildest thing that works

The sequence that avoids nearly all of the trouble is dull: water, time, and a soft brush first. Soaking the wall and letting the dirt release before touching it does most of the work on ordinary soiling. Move up only if that fails, to a mild detergent, then to a proprietary masonry cleaner chosen for the specific stain. Test everything on a small area out of sight and give it a week before judging, because some cleaners look fine wet and leave a bloom once the wall dries.

Identify the stain before you buy a chemical

Different stains have opposite fixes, and using the wrong product often sets the stain permanently. White powdery deposits are usually efflorescence, salt carried out by water, and they respond to dry brushing plus fixing whatever is letting the water in. Green or black film is biological growth and wants a biocide with dwell time, not scrubbing. Orange-brown streaks are usually iron, which acid will make worse rather than better. Paint and coatings need a poultice or a stripper made for masonry. Guessing here is what turns a dirty wall into a stained one.

Where a pressure washer goes wrong

The tool is not the problem, the settings are. A narrow tip held close concentrates enough energy to erode mortar, drive water deep into the wall, and take the fired skin off the brick face, and that skin is the part that resists weather. Once it is gone the brick starts absorbing water and spalling. If a washer is used at all, it should be a wide fan at low pressure, kept moving, held well back, and never aimed straight into a joint. On a wall with open or eroded joints, forcing water in also means forcing it out somewhere inside. A useful discipline is to set the machine at the lowest pressure that achieves anything and then never increase it, because the temptation to turn it up arrives exactly when the wall is at its most vulnerable. If low pressure is not working, the answer is a different cleaner and more dwell time, not more force.

Older brick needs a different rulebook

Hand-made brick from the nineteenth century and earlier is softer, more porous, and far less tolerant than anything produced today, and the lime mortar around it dissolves in acid. On those walls, acidic cleaners, abrasive blasting, and pressure washing are all capable of causing damage that cannot be undone, and blasting in particular removes the fire skin permanently. Where a property sits in a historic district, cleaning method may be regulated as well. The conservative approach on old brick is water, patience, and accepting that some staining is age rather than dirt.

Frequently asked questions

Is acid safe on brick? Only in specific circumstances, diluted, on pre-wet masonry, with a thorough rinse, and never on lime mortar or old brick. Acid attacks the cement matrix and can leave a permanent bloom or discoloration. On anything historic, treat it as unsuitable.

Does the wall need wetting first? Yes, for any chemical cleaning. Saturating the masonry keeps the cleaner in the surface where the dirt is rather than letting it soak deep into dry brick, and it makes rinsing far more effective.

Should cleaning happen before or after repointing? After. Cleaning a wall with open joints drives water into the core, and new pointing will be marked by whatever cleaning follows it. Repoint first, let the mortar cure, then clean gently.

CMU and Block Foundations in Coastal Jacksonville

Drive through Avondale and you’ll see a lot of homes sitting on concrete block, and there’s a good reason for it. Living this close to the St. Johns River and the coast, the two things that eat houses here are moisture and termites — and concrete masonry units, or CMU, shrug off both better than wood framing does. I spent an afternoon with a homeowner near Boone Park who’d been scared off block by a rough inspection report, and once we walked the crawlspace it was clear the block wasn’t the problem. The way it had been detailed for a coastal site was.

CMU and Block Foundations in Coastal Jacksonville
Photo: Daderot · CC0

Why block makes sense on the coast

CMU foundations and stem walls are the norm across coastal Jacksonville for practical reasons. Concrete doesn’t rot, termites can’t eat it, and a properly grouted, reinforced block wall handles the lateral loads that come with our high water table and the occasional storm surge. In a flood-prone zone, a masonry stem wall that lifts the living floor above base flood elevation is often exactly what the Florida Building Code wants to see.

The detail that decides everything: the rebar

Here’s what most people miss. A block foundation on the coast lives or dies by how its steel is protected. Salt air drives chloride into concrete, and chloride corrodes reinforcing steel. When rebar rusts it swells, and that expansion cracks the block from the inside — the same way freeze-thaw wrecks brick up north, except our version runs year-round. Good coastal detailing means:

  • Full grouting of the reinforced cells, not partial, so the steel is fully encased.
  • Adequate cover — enough concrete between the steel and the outside face.
  • Sealed, drained below-grade faces so standing water isn’t sitting against the block.

The National Concrete Masonry Association’s technical guidance on reinforced concrete masonry is the standard this work is built to, and it’s worth understanding before you accept a bid.

This is also why I steer people away from the cheapest foundation number. Coastal detailing is invisible once the wall is up, so it’s the easiest place to cut. I tell homeowners to have a Jacksonville masonry company put the grout, rebar size, and spacing in writing, and to keep those specs with the house records. If you want the fundamentals first, here’s a plain-English guide to concrete block construction.

Moisture is the slow killer

Even with the steel handled, humidity is relentless here. Block is porous, and a wall that stays damp grows efflorescence — the white powder you see leaching out — and eventually mold on interior finishes. Coastal foundations need a capillary break, exterior dampproofing below grade, and real drainage: gutters that carry water away, grade that slopes off the house, and no planting beds trapping moisture against the wall. Sandy soil drains fast, which helps, but a high water table can undo that in the rainy season.

What it costs

A new CMU foundation or stem wall in the Jacksonville area generally runs $12 to $25 per square foot of wall, with reinforced, fully grouted coastal walls at the upper end. Repairs vary widely: sealing and drainage corrections might be $2,000 to $6,000, while addressing corroded rebar and cracked block can climb past $10,000 once you’re rebuilding sections. As always, the cheap number usually skips the coastal detailing that makes the wall last.

Termites, moisture, and the coastal reality

Two coastal Jacksonville realities make block a sensible foundation choice, and both are worth understanding. First, concrete block does not feed termites the way wood framing does, a real advantage in a subtropical climate where termite pressure is relentless year-round, though the framing that sits on the block still needs protection. Second, the same porosity that lets block wick moisture means a coastal block foundation lives or dies by its coatings and drainage: a proper waterproof coating on the exterior below grade, flashing where the wall meets the framing, and grading that carries our heavy summer rain away from the base. Get those right and a block foundation shrugs off the humidity, salt air, and storm water that define building here. Skip them and the block will pull moisture straight through, so treat the waterproofing as part of the structure, not an afterthought.

Frequently asked questions

Is concrete block a good foundation for coastal Florida? Yes. CMU resists rot, termites, and moisture better than wood, and a reinforced, grouted block stem wall suits flood-prone coastal sites. The catch is that the reinforcing steel must be properly grouted and protected from salt-driven corrosion.

What makes coastal block foundations fail? Usually corroded rebar. Salt air drives chloride into the concrete, the steel rusts and swells, and the block cracks from within. Poor drainage and trapped moisture accelerate it.

How much does a CMU foundation cost in Jacksonville? Roughly $12 to $25 per square foot of wall for new work, with fully grouted coastal-rated walls at the top of that range. Moisture and drainage repairs often run $2,000 to $6,000; structural rebar repairs can exceed $10,000.

Choosing Between Block and Poured Concrete for a Retaining Wall

Ask two contractors what a retaining wall should be built from and you will often get two confident, opposite answers. Both can be right, because the two systems solve the same problem by different means: one resists the soil by being a single stiff element anchored at the bottom, the other by becoming part of a reinforced soil mass. Which one suits a job usually comes down to the site rather than to preference.

Two ways to resist the same push

A poured concrete wall is monolithic. Steel is tied into a footing, forms go up, concrete is placed, and the finished wall works as a cantilever, resisting the soil in bending with its strength concentrated at the base. A segmental block wall has no mortar and no continuous footing. It is a facing of interlocking units on a compacted aggregate base, and above modest heights it is tied back into the soil with layers of geogrid. The soil behind it stops being a load and becomes part of the structure.

What the site decides before you do

Access decides more than aesthetics. A poured wall needs forms, rebar, and a concrete truck with reach, and on a tight urban lot with a narrow side yard that alone can rule it out. Segmental units are placed by hand, which is why they suit back gardens with no equipment access. The other site question is space behind the wall: geogrid needs a reinforced zone extending back from the face, often around seventy per cent of the wall height. If there is a property line, a foundation, or a driveway inside that zone, the reinforced-soil approach is off the table and a cantilever wall becomes the answer.

Where segmental block earns its keep

Block goes up fast, needs no cure time before backfill, tolerates minor settlement without cracking because the joints are dry, and can follow curves easily. It also builds in drainage: the open joints let water weep through the face rather than accumulating behind it, provided the aggregate zone behind is built correctly. For garden terracing, planters, and walls up to moderate heights, it is usually both cheaper and more forgiving.

Where a poured wall is the only sensible answer

Once the wall is also doing another job, poured concrete tends to win. Anything that forms part of a basement or foundation, anything supporting a structure above, and anything where the reinforced zone cannot be excavated is cantilever territory. A poured wall also takes a surcharge more gracefully: a driveway or parking area right at the top of the wall is a load the engineer can design a cantilever section for without needing to own the soil behind it.

Both fail the same way, and it is not the wall

The debate about materials distracts from the thing that actually causes failures. Saturated backfill exerts substantially more pressure than drained soil, and most collapsed walls of either type were drowned before they were overloaded. Clean angular stone behind the face, a perforated pipe at the base with somewhere to discharge, filter fabric between the stone and the native soil, and compaction in lifts as the backfill goes in: that specification matters more than the choice between block and concrete. A cheap wall usually saves its money in exactly that zone, where nobody can see it afterwards.

Frequently asked questions

Which is cheaper to build? At garden heights segmental block is normally less expensive, mostly because it needs no forming, no rebar tying, and no concrete delivery. As height increases the gap narrows, since the geogrid, the excavation for the reinforced zone, and the compaction effort all grow with it.

Does a block wall need a footing? Not a concrete one. It needs a compacted aggregate leveling pad, typically set below finished grade so the bottom course is buried. That pad has to be flat and well compacted, because every course above inherits whatever error is built into the first one.

Can a wall be repaired without rebuilding? Sometimes. A poured wall with a hairline crack and no movement can be sealed and monitored. A block wall bulging in the middle of its height is usually telling you the reinforcement or the drainage is inadequate, and that is normally a rebuild of the affected section rather than a repair to the face.

Building a Patio That Survives Florida Humidity and Storms

San Marco has some of the prettiest paver patios in Jacksonville, and it also has some of the fastest failures. I toured a backyard off Hendricks Avenue last summer where a two-year-old patio had already grown a lip you could trip over — the pavers near the downspout had settled a full inch. The homeowner assumed the installer used bad pavers. The pavers were fine. The base and the drainage weren’t. In Florida, that’s almost always the real story.

Building a Patio That Survives Florida Humidity and Storms
Photo: Poliphilo · CC0

Why Florida patios fail differently

Up north, the enemy is freeze-thaw. In Jacksonville we almost never freeze, so the forces attacking a patio are different: relentless humidity, sandy soil that shifts, salt in the coastal air, and downpours that dump inches of rain in an afternoon. A patio here doesn’t heave from ice — it settles, floats, and grows weeds in the joints. Build for water and for a soft subgrade and you’ve solved most of it.

The base is the whole game

A storm-rated patio is really a drainage project with a stone surface on top. Here’s the section I’d insist on in our sandy soil:

  1. Excavate deep. Dig 8 to 12 inches below finished grade — deeper than a lot of quick installers want to.
  2. Compacted crushed-stone base. Six to eight inches of aggregate, compacted in lifts. This is what keeps the surface from settling when the sand below gets saturated.
  3. Geotextile fabric between the subgrade and the base so Florida’s sand doesn’t pump up into your stone over time.
  4. A deliberate slope of about a quarter inch per foot, pitched away from the house. This one detail prevents most standing-water and settling problems.
  5. Edge restraint and polymeric sand to lock the field in and keep weeds and washout out of the joints.

None of this is exotic, but it’s labor, and it’s where a cheap bid cuts corners. When homeowners ask me how to vet an estimate, I tell them to have a Jacksonville paver contractor spell out the base depth and slope in writing — if the quote just says “install pavers,” you don’t actually know what you’re buying. For a sense of local pricing, I broke down paver patio costs in Jacksonville separately.

Materials that shrug off salt and humidity

Concrete pavers are the workhorse here and handle our climate well. If you’re near the river or the Intracoastal, favor dense, low-absorption units and stainless or polymer-coated edge spikes — plain steel rusts fast in salt air. Clay brick, common on San Marco’s older homes, looks right historically but is softer; use it for looks, not high-traffic driveways. Whatever you pick, skip anything that traps moisture underneath, because in this humidity it never dries.

Storms, wind, and permits

Ground-level patios aren’t wind-rated structures, but anything attached — a screen enclosure, a pergola, a summer kitchen — is, and Jacksonville enforces the Florida Building Code’s wind provisions. Before you build a covered or attached structure, check with the City of Jacksonville on permits and setbacks; a flat paver patio usually doesn’t need one, but the roof over it will. And plan for water: a French drain or a dry well tied into the low corner is cheap insurance against the afternoon storms we get June through September.

What it costs

Expect roughly $14 to $28 per square foot installed for concrete pavers done right in the Jacksonville area, more for clay brick, intricate patterns, or difficult access. A proper 300-square-foot patio lands somewhere around $4,500 to $8,000. The cheap $8-a-foot bids almost always skip the base depth and the drainage — the two things that decide whether your patio is still flat in five years.

Frequently asked questions

Do I need a permit for a paver patio in Jacksonville? Usually not for a flat, ground-level patio, but attached or covered structures do, and they must meet Florida Building Code wind requirements. Check with the city before building anything with a roof.

How do I keep my patio from settling in sandy soil? A deep, well-compacted crushed-stone base with geotextile fabric and proper slope. Settling is almost always a base-and-drainage failure, not a paver failure.

Are concrete or clay pavers better for Florida? Concrete pavers handle heat, humidity, and traffic best. Clay brick suits historic homes like those in San Marco for looks, but it’s softer and better kept to low-traffic areas.

Fireplace and Chimney Work for Appleton Winters

Last February I spent a morning in a Grand Chute living room while the homeowner explained why her gas insert kept the room warm but the chimney above it was quietly falling apart. Water was getting in somewhere, and every hard freeze made it worse. That combination — a chimney that still vents fine but is coming apart at the top — is about as Fox Valley a problem as it gets. Appleton winters are unusually cruel to masonry, and a chimney is the most exposed brick on the whole house.

Fireplace and Chimney Work for Appleton Winters
Photo: Wonderlane · CC0 1.0

Why Appleton winters wreck chimneys

The culprit is freeze-thaw. Wisconsin sees some of the most severe freeze-thaw cycling in the country: brick soaks up moisture during a thaw, the water freezes and expands overnight, and the masonry breaks apart from the inside. On a chimney the damage shows up fast because the crown and the top few courses sit above the roofline with nothing sheltering them. I’ve seen chimneys around Neenah and Menasha lose their crowns in under a decade when the original mason skimped on the mortar mix.

Two things make it worse here. The frost line runs deep, so anything tied to the footing moves with the seasons, and road salt in the winter air scales the lower masonry. If you want the longer version of how our climate attacks brick and block, I dug into protecting masonry from Wisconsin freeze-thaw separately.

The repairs that actually matter

Most chimney work in the Fox Valley falls into four buckets, roughly in order of how often I see them:

  • Crown repair or replacement. The concrete cap on top cracks first. A proper crown is poured concrete with an overhang and a drip edge, not a thin smear of mortar. Expect $300 to $1,200 for a rebuild.
  • Flashing. The metal seal where the chimney meets the roof is the most common leak point. Re-flashing runs $300 to $700.
  • Repointing. Grinding out failed joints and repacking them. On a chimney, figure $500 to $2,000 depending on height and access.
  • Liner work. A cracked clay flue tile or an unlined chimney needs a stainless liner, usually $2,000 to $5,000 installed.

A full rebuild above the roofline — taking the chimney down to sound brick and relaying it — is the big one, commonly $2,500 to $6,000 in this area. That said, I never take a contractor’s word that a rebuild is necessary without a second look. Plenty of chimneys I’ve been told were “gone” only needed a new crown and some repointing.

Is a wood fireplace even worth keeping?

This is the honest tradeoff most homeowners skip. An open wood-burning fireplace is a net heat loser — the Department of Energy notes that traditional open fireplaces pull more heated air up the flue than they put back into the room. In an Appleton winter that matters. If you rarely burn, capping and sealing an unused flue can make more sense than a full restoration. If you love the fire, a sealed insert recovers most of that lost efficiency. Either way, get the masonry sound first. When I refer people out, I tell them to have an Appleton mason inspect the crown, flashing, and liner together, because fixing one and ignoring the others just moves the leak.

When the work can actually happen

Here’s the scheduling reality that frustrates people: you generally cannot lay masonry when it’s near freezing. Mortar needs to cure above roughly 40°F, and cold-weather masonry with tenting and heaters adds cost and risk. So the honest window for chimney rebuilds and repointing in the Fox Valley is roughly April through October. If your chimney is leaking in January, a good contractor will do a temporary weatherproofing patch and put you on the spring schedule rather than promise permanent work in the cold. Book early — the good crews fill their summer by March.

Frequently asked questions

How often should an Appleton chimney be inspected? Once a year, ideally before heating season. Our freeze-thaw cycles can turn a hairline crown crack into an active leak in a single winter.

Can chimney masonry be repaired in winter? Rarely well. Mortar won’t cure properly near freezing, so most rebuilds and repointing wait for temperatures reliably above 40°F, roughly April through October here.

What does chimney repair cost in the Fox Valley? Small jobs like flashing or a crown run $300 to $1,200; repointing $500 to $2,000; a rebuild above the roofline commonly $2,500 to $6,000, depending on height and access.

Desert Stonework in Tucson: Materials, Heat and Care

A homeowner in the Catalina Foothills called me in July, right in the middle of monsoon season, because the flagstone patio another crew had laid the year before had buckled and half the veneer on her seat wall had slid off in a single storm. Standing there in 104-degree heat looking at the mess, I could see both problems from ten feet away: wrong material, no drainage.

Desert Stonework in Tucson: Materials, Heat and Care
Photo: Amal Kumar ( https://polyhaven.com/all?a=Amal%20Kumar / https://web.archive.org/web/20230902205408/https://polyhaven.com/all?a=Amal%20Kumar ) via Poly Haven · CC0

Stonework is my trade. I build patios, retaining walls, and stone veneer, and the Sonoran Desert is a specific, unforgiving place to do it. The heat, the UV, the caliche underfoot, and the monsoon all fight the work in ways that catch out crews who learned masonry somewhere wet. Here’s what actually holds up out here.

Stone that belongs in the desert

Native and dense stone is your friend. Arizona flagstone and the denser sandstones handle our sun better than soft, porous stone that flakes as it bakes and cools. Burnt adobe and concrete block are traditional here for good reason, and you’ll see historic adobe all through older neighborhoods like Barrio Viejo. Manufactured veneer can work, but the cheaper products chalk and fade under our UV faster than the brochure promises. If you want the long version of picking material for this climate, I go deep in this guide to choosing stone that handles extreme desert heat.

What heat and UV do to a wall

Surface temperatures on dark stone can top 150 degrees on a June afternoon, so light colors stay far more comfortable underfoot on a patio. Heat also shortens the working time on mortar and thinset dramatically; I work in the shade, keep materials cool, and mist the work so it doesn’t flash-set before it bonds. UV is the quiet killer of sealers and cheap veneer adhesives, which is why product choice matters more here than almost anywhere else in the country. A cure that would take a day back East can happen in an hour here, and rushed adhesive is why that seat wall let go.

Monsoon and drainage, the part everyone underestimates

The summer monsoon, roughly July through September, can dump an inch of rain in twenty minutes onto ground that doesn’t absorb it. That water has to go somewhere, and if you haven’t planned for it, it goes through your hardscape. Tucson’s grading and stormwater rules exist precisely because of this, and the city’s floodplain and drainage guidance is worth a read before any hardscape job; you can start with the City of Tucson resources. My rules are simple: pitch every patio away from the house, build on a base that actually drains, and put weep holes and clean drainage gravel behind every retaining and veneer wall so water can escape instead of pushing the wall over.

Caliche makes drainage even more critical

Under a lot of Foothills lots sits caliche, a cemented calcium-carbonate hardpan that’s brutal to dig; footings sometimes need a jackhammer or a powered breaker to get through it. Caliche also holds water like a bathtub, so any water you trap behind a wall has nowhere to go. Between the caliche and the monsoon, this is not a dig-and-hope project. I’d bring in a Tucson masonry contractor who builds for the desert, not someone who moved here from a wet climate last season and hasn’t met caliche yet.

Caring for desert stonework

Reseal flagstone every two to three years with a breathable, UV-stable sealer, rinse the salts and dust off periodically, and check your weep holes before monsoon season starts so they aren’t packed with dirt. After a big storm, walk the walls and patio and look for new cracks or any stone that shifted. Catching a small movement early is a caulk-and-reset afternoon; ignoring it is a rebuild.

What desert stonework costs

A flagstone patio installed usually runs $18 to $35 per square foot. Stone veneer tends to land at $20 to $45 per square foot depending on the stone and the wall behind it. A structural retaining wall runs roughly $30 to $70 per face foot, and caliche excavation can add meaningfully to any of these if we have to break through hardpan. Sealing is about $1 to $3 per square foot. Treat these as planning ranges; the stone you choose and the digging conditions move the number most.

Frequently asked questions

What stone holds up best in Tucson’s heat? Dense native stone like Arizona flagstone and the harder sandstones handle sun and thermal cycling well, and lighter colors stay cooler underfoot. Softer, porous stone and cheap manufactured veneer tend to flake, chalk, or fade under our intense UV.

How does the monsoon damage stonework? A monsoon storm drops a lot of water fast onto ground that barely absorbs it. Without proper grading and drainage behind walls, that water undermines patio bases and builds pressure behind retaining and veneer walls, which buckles patios and pushes walls out. Drainage is the fix.

Do I need to seal desert flagstone? For most flagstone, yes, with a breathable UV-stable sealer every two to three years. It slows staining and surface wear from sun and salts. Skip film-forming sealers, which can cloud and peel under desert UV.

Repointing Historic DC Rowhouses: Costs and Preservation Rules

On a Capitol Hill block near Lincoln Park last fall, I watched a crew grind the mortar out of an 1890s brick rowhouse with an angle grinder and no jig, chewing the edges of the soft historic brick as they went. The owner thought she’d found a bargain. What she’d actually bought was damage that will cost more to fix than the repointing did.

Repointing Historic DC Rowhouses: Costs and Preservation Rules
Photo: Jebulon · CC0

I do stone and hardscape work, not full facade restoration, but I’ve stood on enough Capitol Hill scaffolds to know how this goes right and how it goes wrong. Repointing an old rowhouse is one of those jobs where the cheap version is genuinely worse than doing nothing. Here’s what the work involves, what the rules require, and what it should cost.

What repointing is, and when a rowhouse needs it

Repointing means raking the failed mortar out of the joints to a sound depth, usually about an inch, and packing in fresh mortar. You need it when the joints have receded, the mortar crumbles to sand under a key, or water is finding its way in through open seams. On Capitol Hill’s 100-plus-year-old brick, that day comes for every house eventually, because the original lime mortar was designed to wear before the brick does. Recognizing worn mortar early is the whole game; I cover the warning signs in a separate piece, but the short version is that soft, receding, or missing joints mean it’s time.

The preservation rules on Capitol Hill

Capitol Hill is a designated historic district, so exterior masonry work on a contributing building generally needs a permit and historic review before you start. The single best reference for doing it correctly is the National Park Service Preservation Brief on repointing, which sets the standard the review boards lean on. I’d read the NPS Preservation Briefs before you interview a single contractor, because it will tell you what good work looks like and let you spot a crew that’s about to cut corners. Reviewers care about mortar composition, joint profile, and how the old mortar is removed, and grinding wide joints with a power wheel is exactly the kind of thing that gets flagged.

Why the mortar matters more than anything

Hundred-year-old rowhouse brick was laid in soft, breathable lime mortar. Modern Portland-based mortar is far harder, and when it’s packed into an old wall it traps moisture and forces the expansion stress into the brick faces instead of the joints, spalling the brick over a few freeze-thaw cycles. Matching the original in strength, composition, color, and joint profile is the entire craft here, and it’s worth understanding how mortar is matched on century-old brick before you approve a mix. For a contributing rowhouse, I’d only hand this to a DC masonry contractor who can show you lime-mortar repointing they’ve completed and photos the review board actually approved.

What historic repointing costs

Hand-repointing historic brick on Capitol Hill commonly runs $12 to $30 per square foot of wall, with the front facade of a typical rowhouse landing somewhere between $8,000 and $20,000 depending on height, condition, and access. Custom mortar analysis and color matching adds roughly $300 to $1,000. Historic review and permit fees are extra, and the approval can add four to eight weeks before work begins. A power-grinder crew will quote well under those numbers, and that gap is the sound of your brick being damaged; salvaged replacement brick alone can run $15 to $40 apiece once the edges are chewed up.

Getting the sequence right

Do the paperwork first. Get the mortar matched, get the review approval, then let a careful crew rake by hand or with a proper joint-width blade and jig. Repointing done right on a Capitol Hill rowhouse should last 50 to 100 years. Done wrong, you’ll be paying to undo it inside a decade.

Frequently asked questions

Do I need approval to repoint a Capitol Hill rowhouse? Usually yes. On a contributing building in the historic district, exterior repointing typically requires a permit and historic review covering the mortar and the method. Confirm before you start, because unapproved work can be ordered redone.

Why can’t the contractor just use standard bagged mortar? Standard bagged mortar is high in Portland cement, which is harder than old brick. On a soft historic wall it traps moisture and spalls the brick faces over a few winters. Historic brick needs a softer, lime-based mortar matched to the original.

How do I know if a low bid is too cheap? If the price is far below $12 per square foot and the crew plans to grind joints with a wheel and use off-the-shelf mortar, that’s a warning sign. Proper hand-repointing with matched lime mortar simply costs more, and it protects the wall instead of harming it.